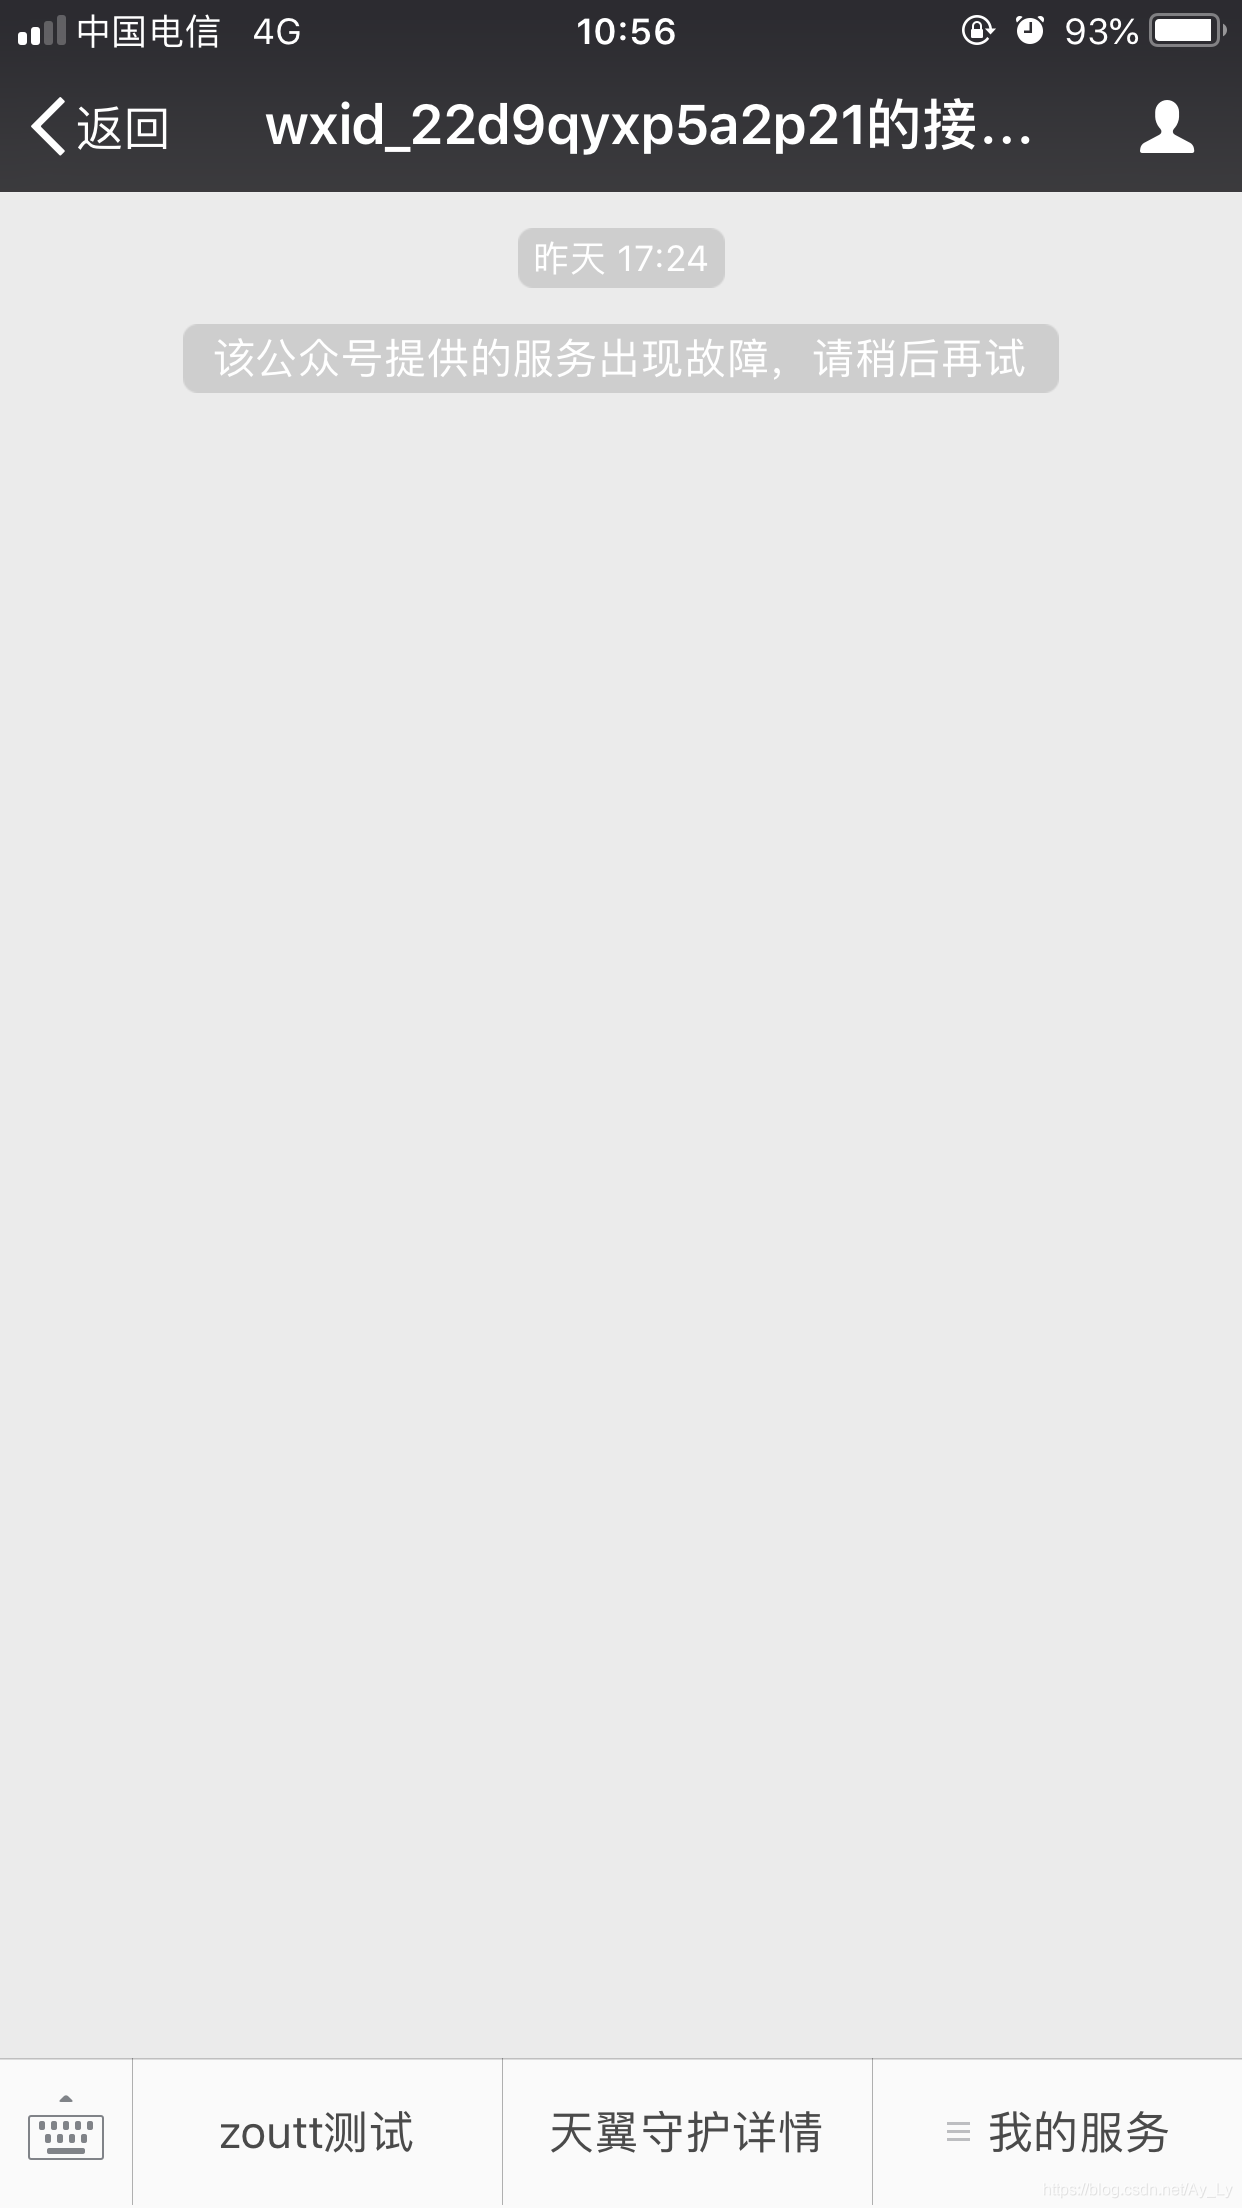
1、登录微信公众号后台。
左边栏最下面找到开发--开发者工具--选择公众平台测试号
2、进入测试号管理

3、接口配置信息
安装natapp:
具体参考http://blog.csdn.net/xunxianren007/article/details/54954520, 这个网址里详细介绍了win/Mac/Linux下安装步骤
解压缩到目录D:atapp
直接双击打开失败,需要配置环境变量,编辑环境变量Path
打开cmd, 执行命令 natapp, 显示认证错误
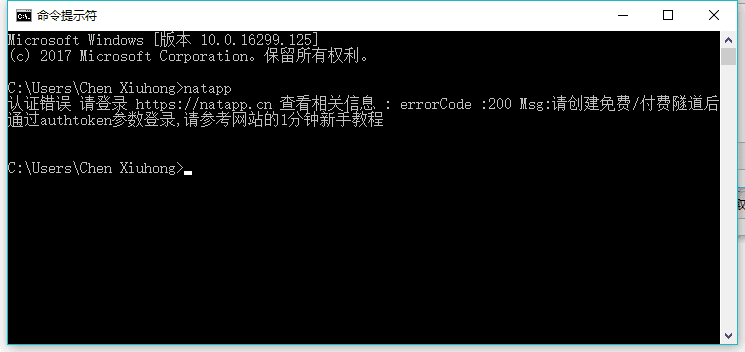
这个时候是需要token认证的, 所以我们的主要工作就是如何获得authtoken
https://natapp.cn 进入 配置隧道以及域名,目的在于将域名映射到本地地址以及端口号(127.0.0.1)
本地启动natapp

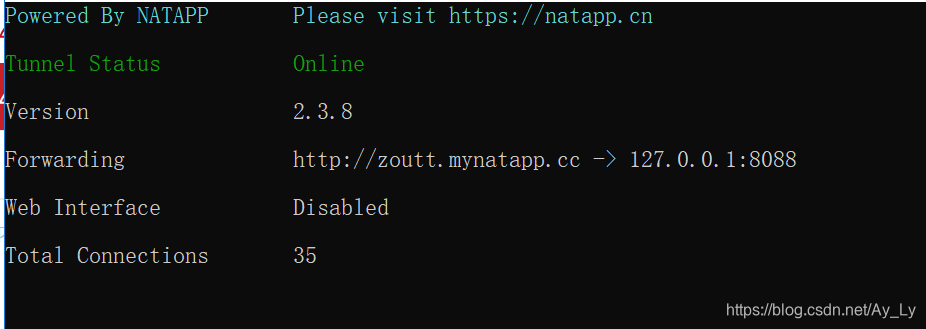
复制authtoken, cmd进入natapp目录执行 natapp -authtoken yourauthtoken 出现下图即为成功
接下来新建一个springboot项目
controller层
@Controllerpublic class IndexController { @RequestMapping("/index") public String index(){ return "hello"; }}hello.html
!DOCTYPE htmlhtml lang="en"head meta charset="UTF-8" / titleTitle/title link rel="stylesheet" href="test.css" type="text/css" //headbodyh1Hello World/h1/body/html启动项目后,用域名访问 出现Hello World
接下来配置接口配置信息,TestController
package com.cn21.guard.controller;import org.springframework.web.bind.annotation.GetMapping;import org.springframework.web.bind.annotation.RequestParam;import org.springframework.web.bind.annotation.RestController;import java.security.MessageDigest;import java.security.NoSuchAlgorithmException;import java.util.Arrays;@RestControllerpublic class TestController { private String TOKEN = "good"; @GetMapping("/sell/test") public String test(@RequestParam("signature") String signature, @RequestParam("timestamp") String timestamp, @RequestParam("nonce") String nonce, @RequestParam("echostr") String echostr) { //排序 String sortString = sort(TOKEN, timestamp, nonce); //加密 String myString = sha1(sortString); //校验 if (myString != null && myString != "" && myString.equals(signature)) { System.out.println("签名校验通过"); //如果检验成功原样返回echostr,微信服务器接收到此输出,才会确认检验完成。 return echostr; } else { System.out.println("签名校验失败"); return ""; } } public String sort(String token, String timestamp, String nonce) { String[] strArray = {token, timestamp, nonce}; Arrays.sort(strArray); StringBuilder sb = new StringBuilder(); for (String str : strArray) { sb.append(str); } return sb.toString(); } public String sha1(String str) { try { MessageDigest digest = MessageDigest.getInstance("SHA-1"); digest.update(str.getBytes()); byte messageDigest[] = digest.digest(); // Create Hex String StringBuffer hexString = new StringBuffer(); // 字节数组转换为 十六进制 数 for (int i = 0; i messageDigest.length; i++) { String shaHex = Integer.toHexString(messageDigest[i] & 0xFF); if (shaHex.length() 2) { hexString.append(0); } hexString.append(shaHex); } return hexString.toString(); } catch (NoSuchAlgorithmException e) { e.printStackTrace(); } return ""; }}填入token以及url,启动项目,配置成功

菜单栏设置:
1、获取access_tojen
2、设置菜单栏接口
1、获取access_token

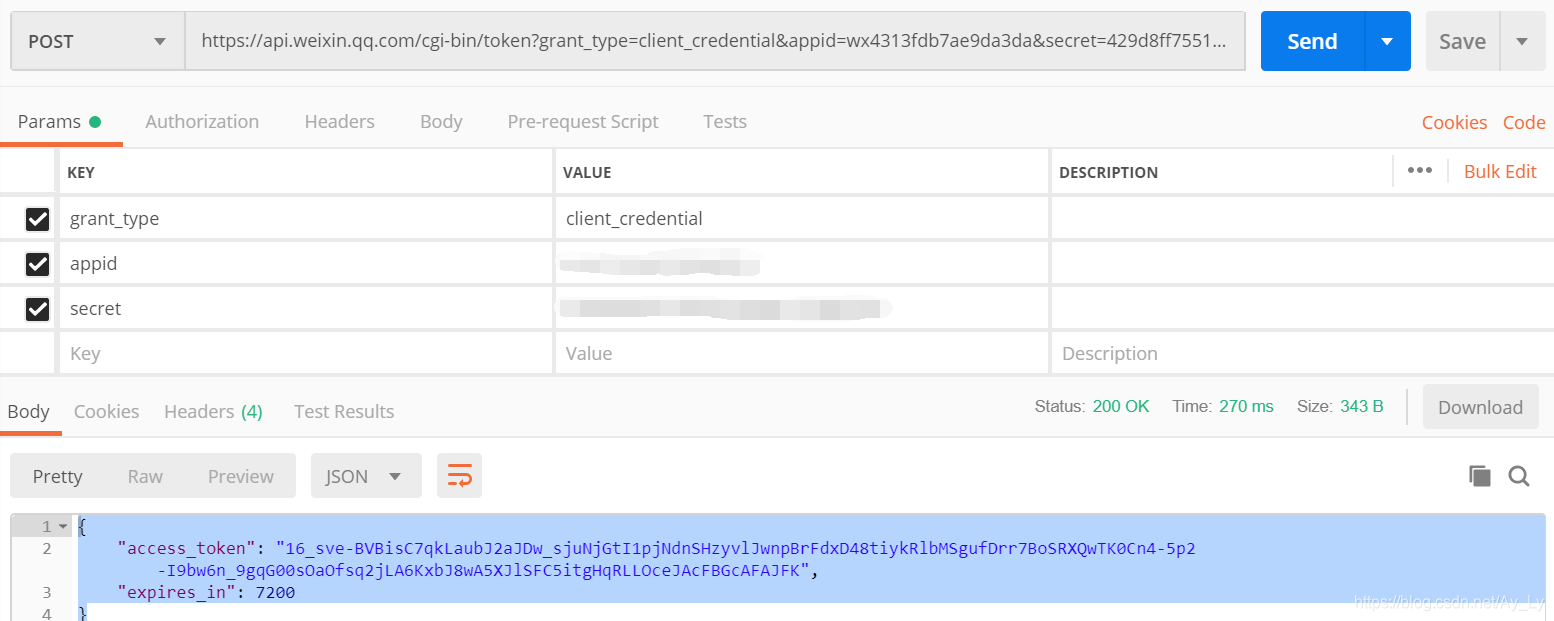
请求地址:https://api.weixin.qq.com/cgi-bin/token?grant_type=client_credential&appid=APPID&secret=APPSECRET
将该地址直接复制到postman中,设置grant_type、appid、secret参数值。
2、设置菜单栏接口
详情可见https://mp.weixin.qq.com/wiki?t=resource/res_main&id=mp1421140183 自定义菜单
选择请求地址以及参数
接口调用请求说明
http请求方式:POST(请使用https协议) https://api.weixin.qq.com/cgi-bin/menu/create?access_token=ACCESS_TOKEN
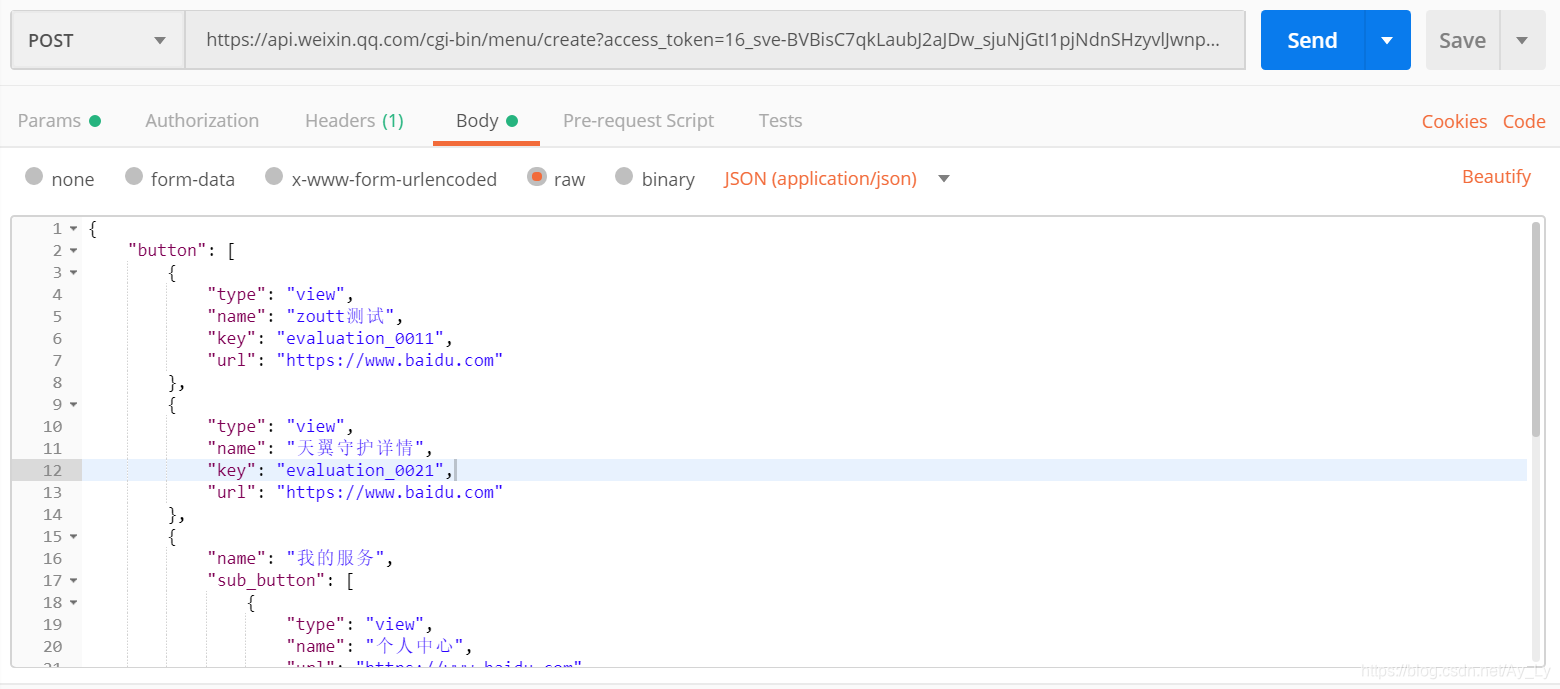
json格式数据如下,在params中需要附带参数access_token
{ "button": [ { "type": "view", "name": "zoutt测试", "key": "evaluation_0011", "url": "https://www.baidu.com" }, { "type": "view", "name": "天翼守护详情", "key": "evaluation_0021", "url": "https://www.baidu.com" }, { "name": "我的服务", "sub_button": [ { "type": "view", "name": "个人中心", "url": "https://www.baidu.com" }, { "type": "view", "name": "服务订购", "url": "https://www.baidu.com" }, { "type": "view", "name": "监控中心", "url": "https://www.baidu.com" }, { "type": "view", "name": "数据分析", "url": "https://www.baidu.com" } ] } ]}返回结果

查看公众号