最近在做一个匹配类的微信小程序,需要用到二维码分享功能,下面就分享一下开发步骤
一、获取appid和secret
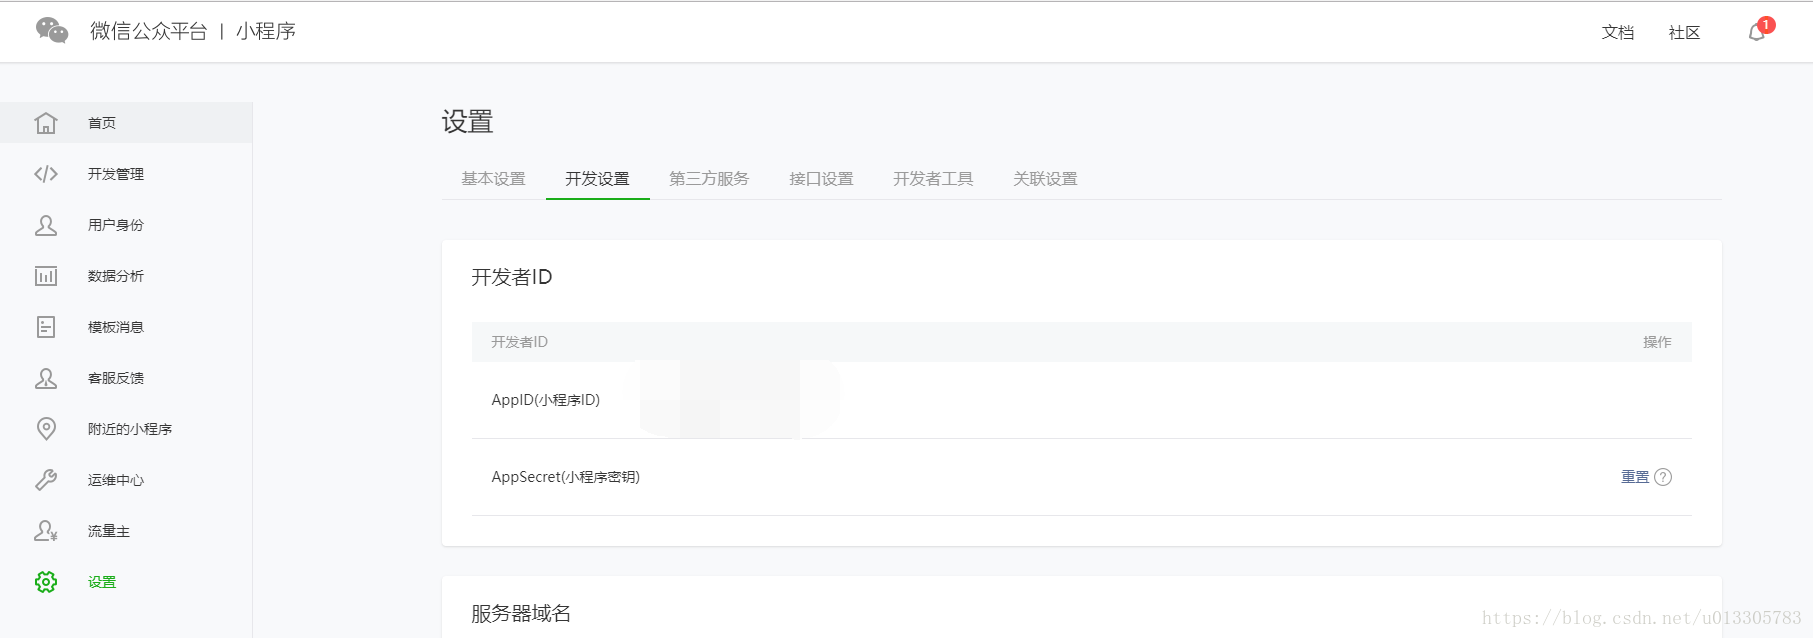
获取微信小程序的appid和secret可以直接去微信公众平台上获取,在设置开发设置里面即可找到
二、获取openid
要获取当前登陆者的openid,需要先获取登录动态code,代码如下:
wx.login({ success: function (res) { } }) 将返回回来的res.code作为参数传递至后端,后端根据code获取用户的openid,然后将openid返回给前端。
String params = "appid=" + READ_BASE_APPID + "&secret=" + READ_BASE_APPSECRET + "&js_code=" + code + "&grant_type=" + grant_type; //String resultJson = HttpClientUtil.doGet(READ_BASE_OPENID_URL+param.getCode()); String resultJson = HttpClientUtil.doGet(READ_BASE_OPENID_URL + params); //更新用户数据 MessageResponse messageResponse = JsonUtils.jsonToPojo(resultJson,MessageResponse.class);三、生成token
要生成二维码就必须要先有小程序token,生成token可以通过后端请求接口https://api.weixin.qq.com/cgi-bin/token?grant_type=client_credential,然后将appid和secret传入即可,后端代码入下:
String params = "appid=" + READ_BASE_APPID + "&secret=" + READ_BASE_APPSECRET; String resultJson = HttpClientUtil.doGet(GET_TOKEN_URL + params); MapString,Object tokenJson = JsonUtils.jsonToPojo(resultJson,Map.class);四、生成二维码
官方提供了三种方式生成二维码,生成方式的具体描述可以去官网查看,这里我们选择第二种,也就是不限次数的生成方式。生成地址是String URL = “https://api.weixin.qq.com/wxa/getwxacodeunlimit?access_token=” + access_token;
HttpPost httpPost = new HttpPost(url);httpPost.addHeader(HTTP.CONTENT_TYPE, "application/json");StringEntity se = new StringEntity(json);se.setContentType("application/json");se.setContentEncoding(new BasicHeader(HTTP.CONTENT_TYPE, "UTF-8"));httpPost.setEntity(se);// httpClient.execute(httpPost);HttpResponse response = httpClient.execute(httpPost);if (response != null) { HttpEntity resEntity = response.getEntity();} 获取到的是一张图片,如果我们用String去接收就会发现是一串乱码,这里我们需要通过流操作生成一个图片文件。
int stateInt = 1; File file = new File(imgPath, imgName);// 可以是任何图片格式.jpg,.png等 FileOutputStream fos = new FileOutputStream(file); if (instreams != null) { try { byte[] b = new byte[1024]; int nRead = 0; while ((nRead = instreams.read(b)) != -1) { fos.write(b, 0, nRead); } } catch (Exception e) { stateInt = 0; e.printStackTrace(); } finally { try { fos.flush(); fos.close(); } catch (IOException e) { e.printStackTrace(); } } }五、上传图片到fastdfs
pom文件中引入相应的包:
dependency groupIdcom.github.tobato/groupId artifactIdfastdfs-client/artifactId version1.25.2-RELEASE/version /dependency fastdfs的搭建这里也不作介绍,可以去看我之前文章有介绍。这里是有springboot整合fastdfs方式:
@Import(FdfsClientConfig.class) public class WechatApplication { public static void main(String[] args) { // SpringApplication springApplication = new SpringApplication(WechatApplication.class); // springApplication.setBannerMode(Banner.Mode.OFF); // springApplication.run(args); SpringApplication.run(WechatApplication.class,args); } }
yml中配置如下:
fdfs: soTimeout: 3000 connectTimeout: 6000 thumbImage: #缩略图生成参数 width: 400 height: 400 trackerList: #TrackerList参数,支持多个 注入FastFileStorageClient :
@Autowired private FastFileStorageClient fastFileStorageClient; 调用uploadFile方法上次图片,并获取返回地址
File file = new File(SAVE_IMAGE_PATH + userDataParam.getOpenid() + ".jpg"); FileInputStream inputStream=new FileInputStream(file); storePath= fastFileStorageClient.uploadFile(inputStream,file.length(),"jpg",null); storePath.getFullPath()//获取url 将生成的url加上fastdfs访问域名地址即可查看图片。