1.小程序的基础练习
<!--pages/base/base.wxml--><text>{{msg}}</text><image class='banner' src="{{img}}"></image><view wx:for="{{arr}}" wx:key="{{index}}"> {{index}} {{item}}</view><view wx:for="{{list}}" wx:key="{{index}}"> {{item.name}} {{item.age}}</view><view wx:if="{{isLogin}}">wang</view><view wx:else>请您先登录</view><view hidden='{{isLogin}}'>hidden</view> <view class='boss' bindtap='onclickHander' data-id="1234"> <view class='child' catchtap='onchildHander'></view> </view> <button size='mini' bindtap='onTapHandler'>点击+1</button> <view>{{count}}</view>// pages/base/base.jsPage({ /** * 页面的初始数据 */ data: { msg: "hello world", img:"/images/film.png", arr:[10,20,30,40], list:[ { name:"wang", age:19 }, { name:"Daniel", age:20 } ], isLogin:true, count: 0, }, //点击+1 onTapHandler(){ // this.data.count++; this.setData({ count:this.data.count+1 }) }, onclickHander(e){ console.log("11"); console.log(e.target.dataset) }, onchildHander(){ console.log("22child") }, /** * 生命周期函数--监听页面加载 */ onLoad: function(options) {}, /** * 生命周期函数--监听页面初次渲染完成 */ onReady: function() {}, /** * 生命周期函数--监听页面显示 */ onShow: function() {}, /** * 生命周期函数--监听页面隐藏 */ onHide: function() {}, /** * 生命周期函数--监听页面卸载 */ onUnload: function() {}, /** * 页面相关事件处理函数--监听用户下拉动作 */ onPullDownRefresh: function() {}, /** * 页面上拉触底事件的处理函数 */ onReachBottom: function() {}, /** * 用户点击右上角分享 */ onShareAppMessage: function() {}});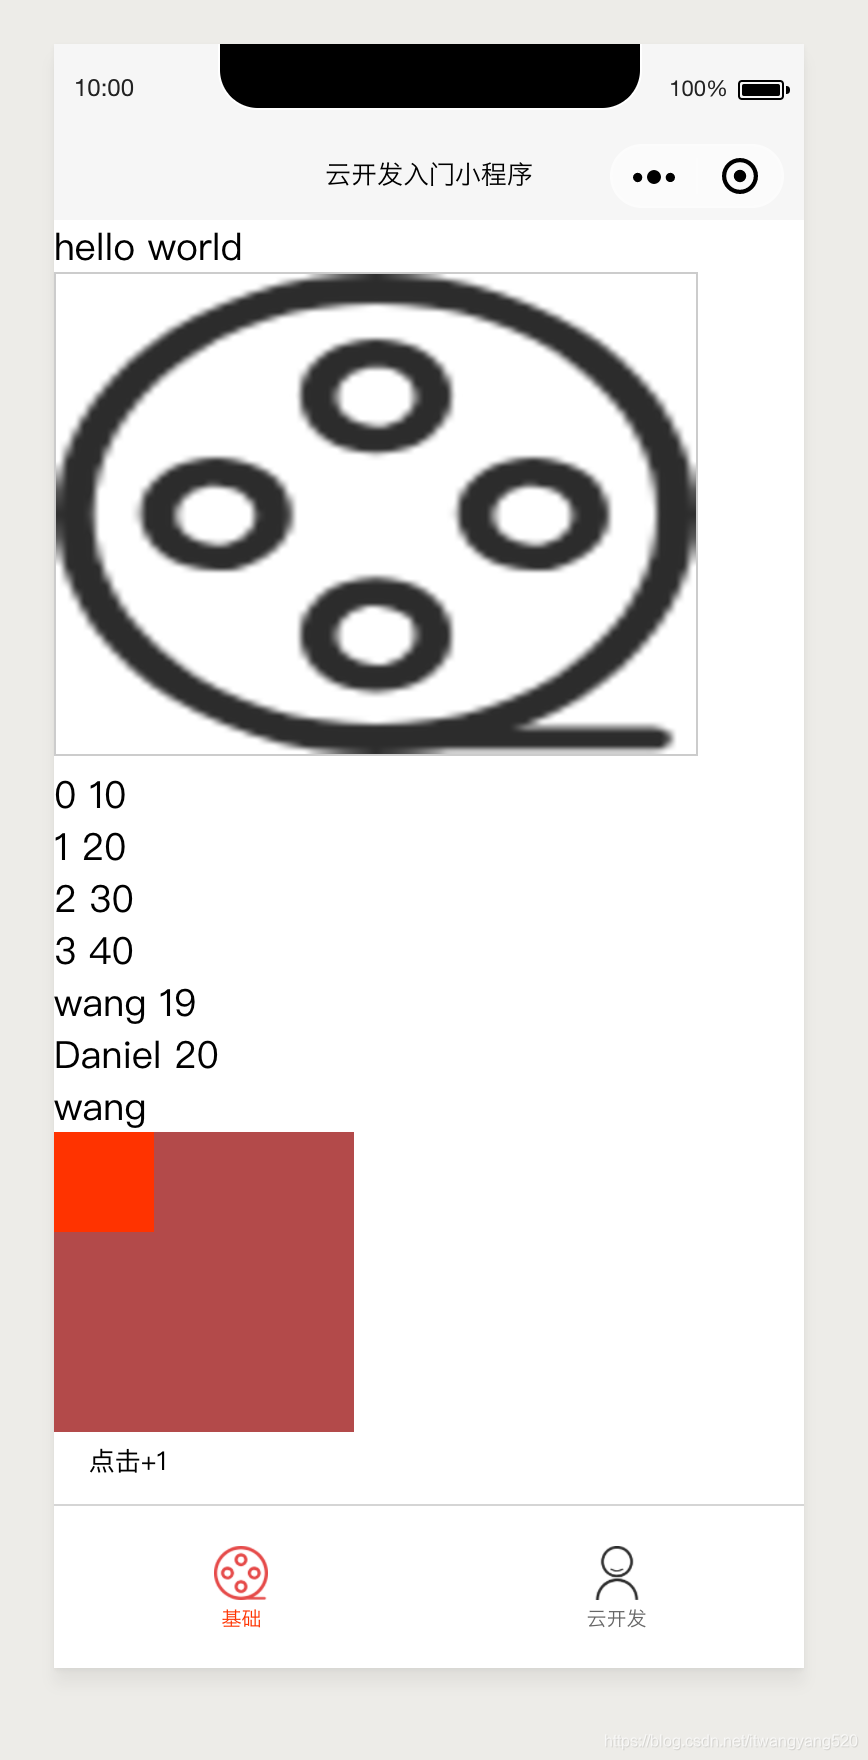
注意:
如果需要频繁切换的情况下,用hidden更好
如果在运行是条件不大可能改变则wx:if较好
设计师最好用iphone6设计标准来做UI图
第三方样式库:WeUI、iView Weapp、Vant Weapp
catch 和 bind的区别:
bind是可以事件冒泡的,catch在事件中会阻止事件冒泡
数据类型:
String:字符串
Number:数字
Object:对象
Array:数组
Bool:布尔值
GeoPoint:地理位置点
Date:时间(客户端时间)
Null
2.云开发
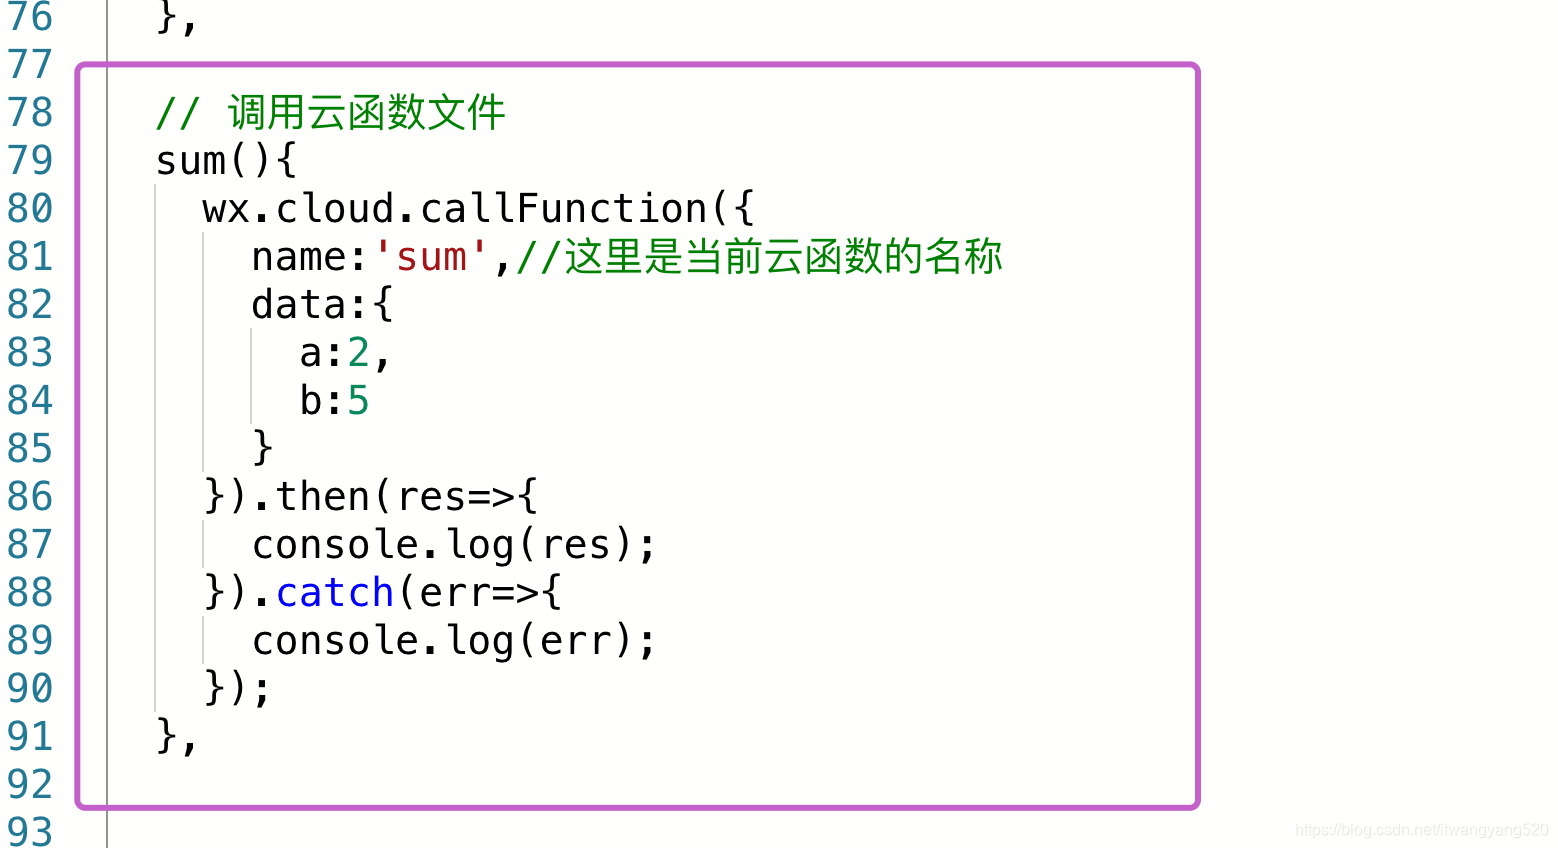
<view>云数据库的代码</view><button bindtap='insert'>插入数据</button><button bindtap="update">更新数据</button><button bindtap="search">查找数据</button><button bindtap='delete'>删除数据</button><view>云函数</view><button bindtap='sum'>调用云函数</button><button bindtap='getOpenId'>获取用户当前用户openid</button><button bindtap='getDelete'>批量删除</button>// pages/cloud/cloud.jsconst db = wx.cloud.database();//初始化数据库Page({ /** * 页面的初始数据 */ data: { },//插入数据 insert(){ console.log("插入数据"); /*db.collection('user').add({ data:{ name:'wang', age:20 }, success:res=>{ console.log(res); }, fail:err=>{ console.log(err); } })*/ //使用promise的写法 db.collection('user').add({ data:{ name:'wangcoder', age:23 } }).then(res => { console.log(res); }).catch(err=>{ console.log(err); }) },//更新数据 update(){ db.collection('user').doc('f4b905395ceaa61e062a8acd12369409').update({ data:{ age:21 } }).then(res=>{ console.log(res); }).catch(err=>{ console.log(err); }) }, // 查找数据 search(){ console.log('aaa'); db.collection('user').where({ name:'wangyang' }).get().then(res=>{ console.log(res); }).catch(err=>{ console.log(err); }); }, //删除数据 delete(){ db.collection('user') .doc('57896b495ceaa8e10627bde54a1b3345') .remove() .then(res=>{ console.log(res); }).catch(err=>{ console.log(err); }) }, // 调用云函数文件 sum(){ wx.cloud.callFunction({ name:'sum',//这里是当前云函数的名称 data:{ a:2, b:5 } }).then(res=>{ console.log(res); }).catch(err=>{ console.log(err); }); }, // getOpenId getOpenId(){ console.log("aaavvv"); wx.cloud.callFunction({ name:'login' }).then(res=>{ console.log(res); }).catch(err=>{ console.log(err); }) }, //getDelete getDelete(){ wx.cloud.callFunction({ name:'batchDelete', }).then(res=>{ console.log(res); }).catch(err=>{ console.error(err); }) }, /** * 生命周期函数--监听页面加载 */ onLoad: function (options) { }, /** * 生命周期函数--监听页面初次渲染完成 */ onReady: function () { }, /** * 生命周期函数--监听页面显示 */ onShow: function () { }, /** * 生命周期函数--监听页面隐藏 */ onHide: function () { }, /** * 生命周期函数--监听页面卸载 */ onUnload: function () { }, /** * 页面相关事件处理函数--监听用户下拉动作 */ onPullDownRefresh: function () { }, /** * 页面上拉触底事件的处理函数 */ onReachBottom: function () { }, /** * 用户点击右上角分享 */ onShareAppMessage: function () { }})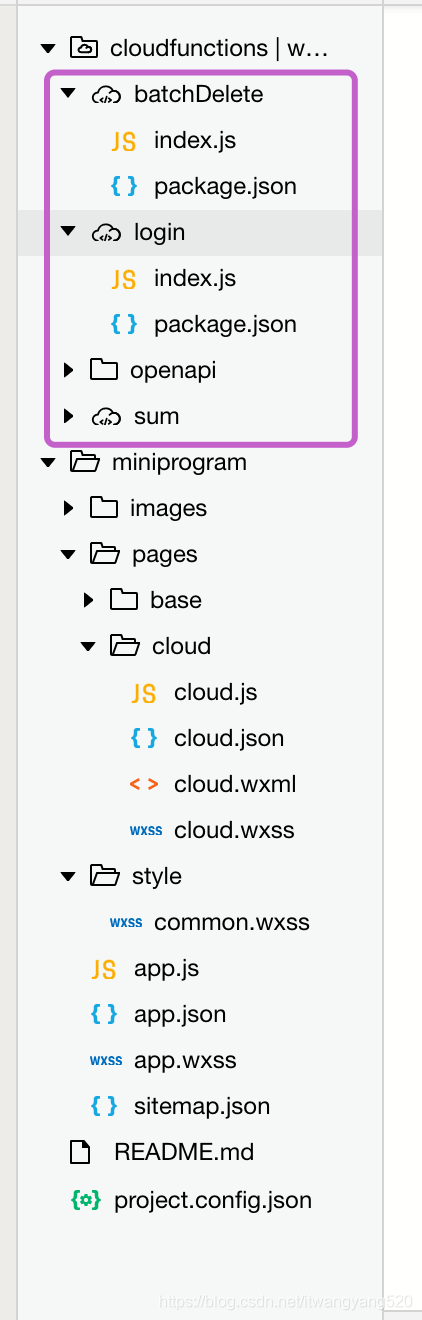
sum里面的index.js
// 云函数入口文件// const cloud = require('wx-server-sdk')// cloud.init()// 云函数入口函数exports.main = async (event, context) => { return{ sum: event.a + event.b }}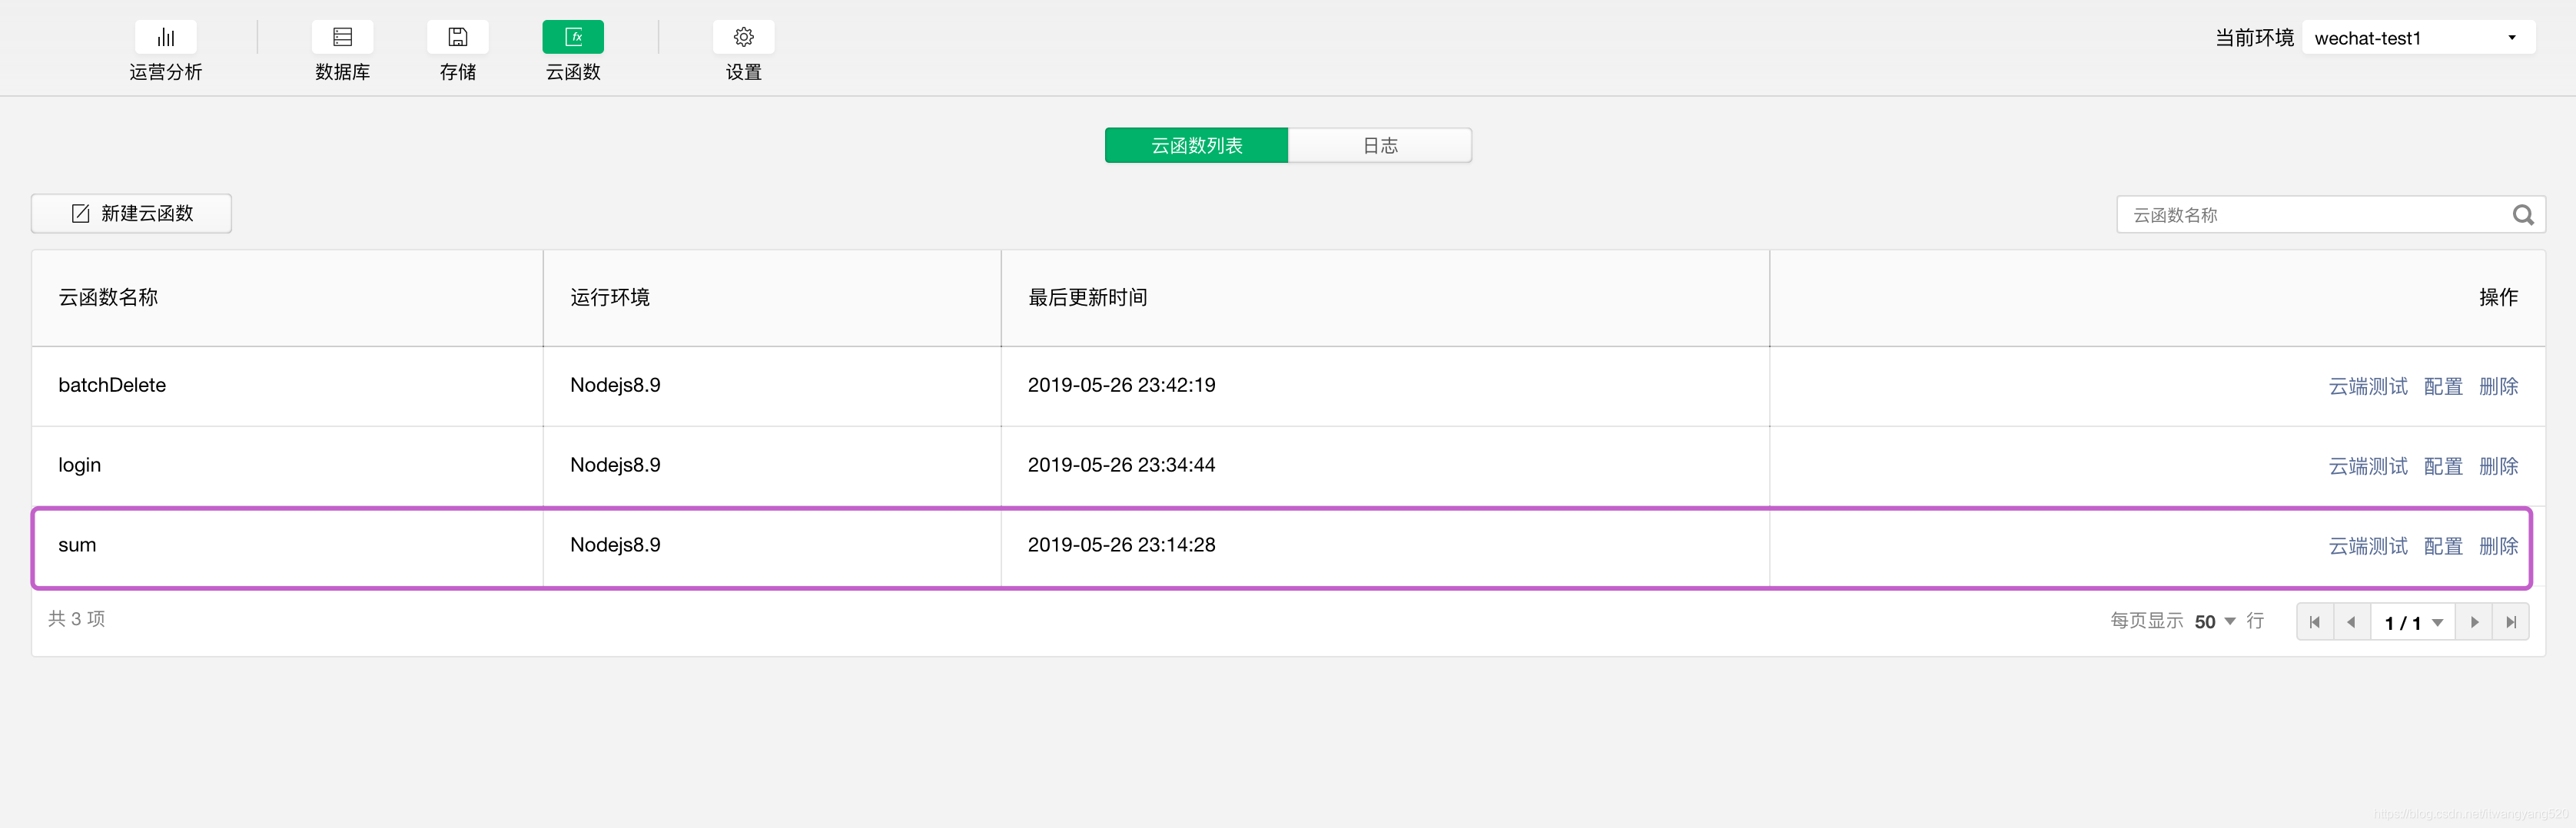
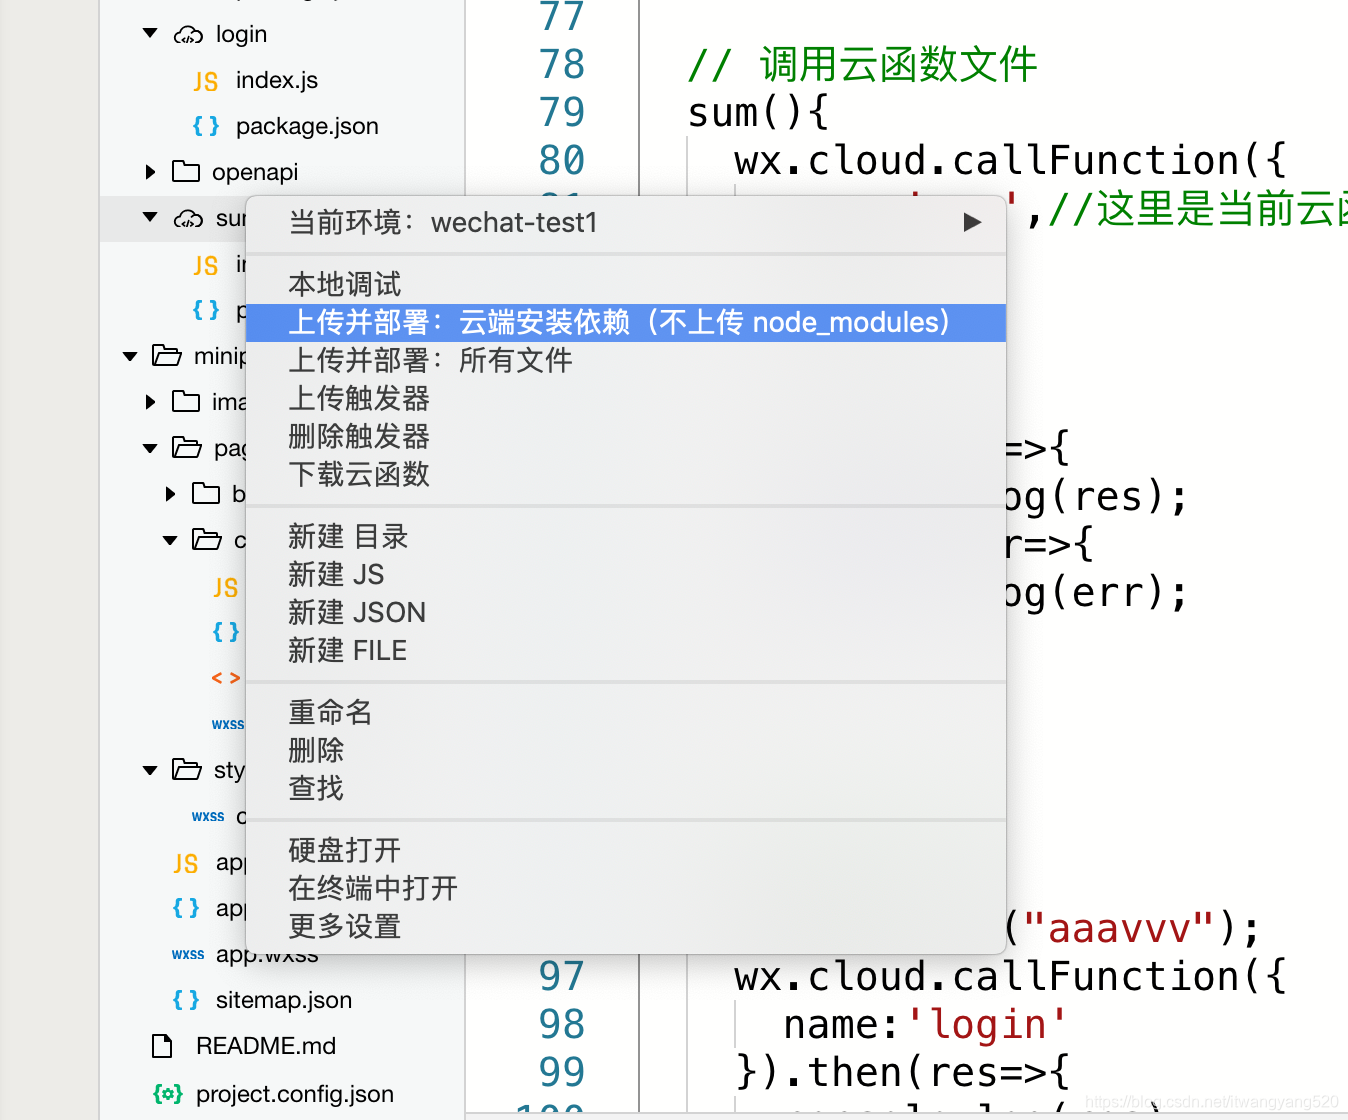
每次写完云函数,要记得上传上去哦,
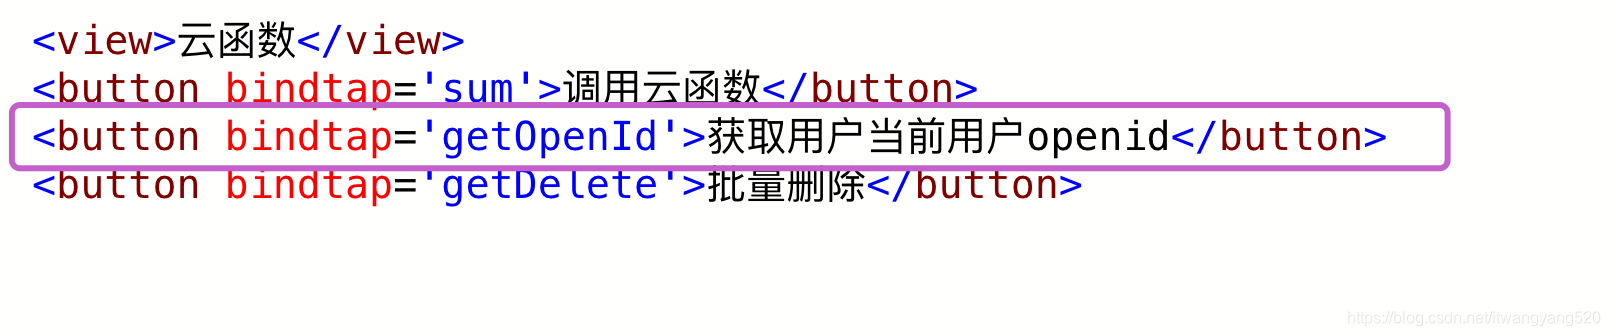
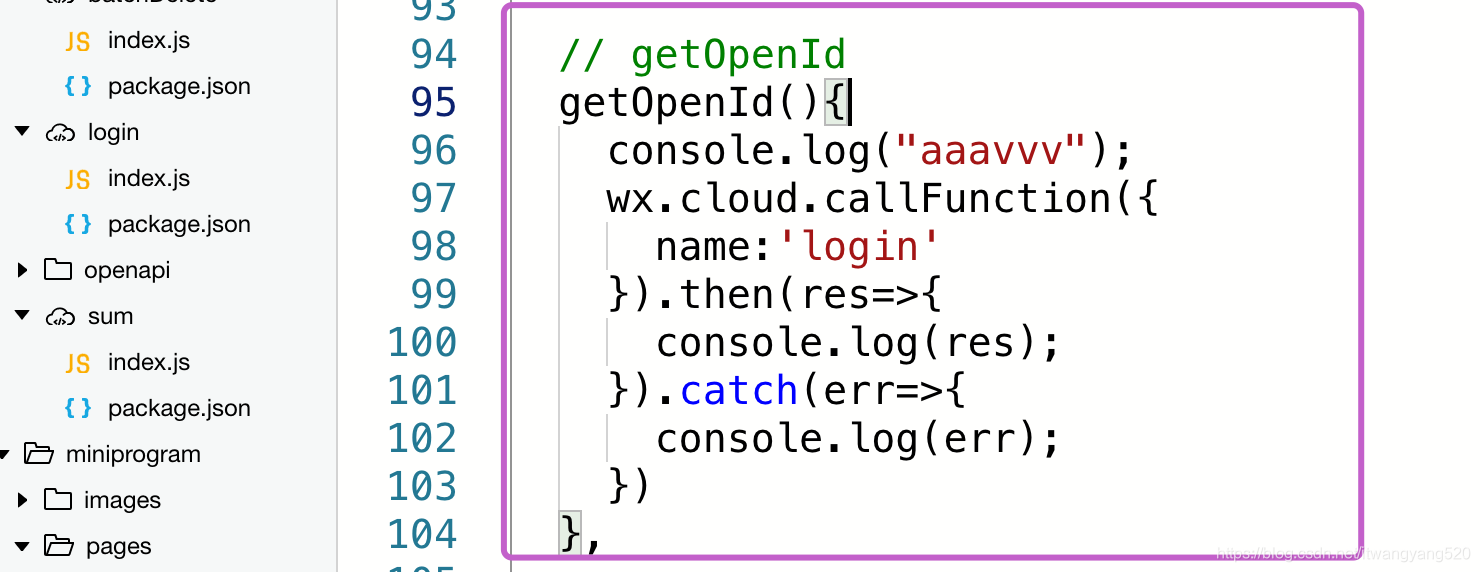
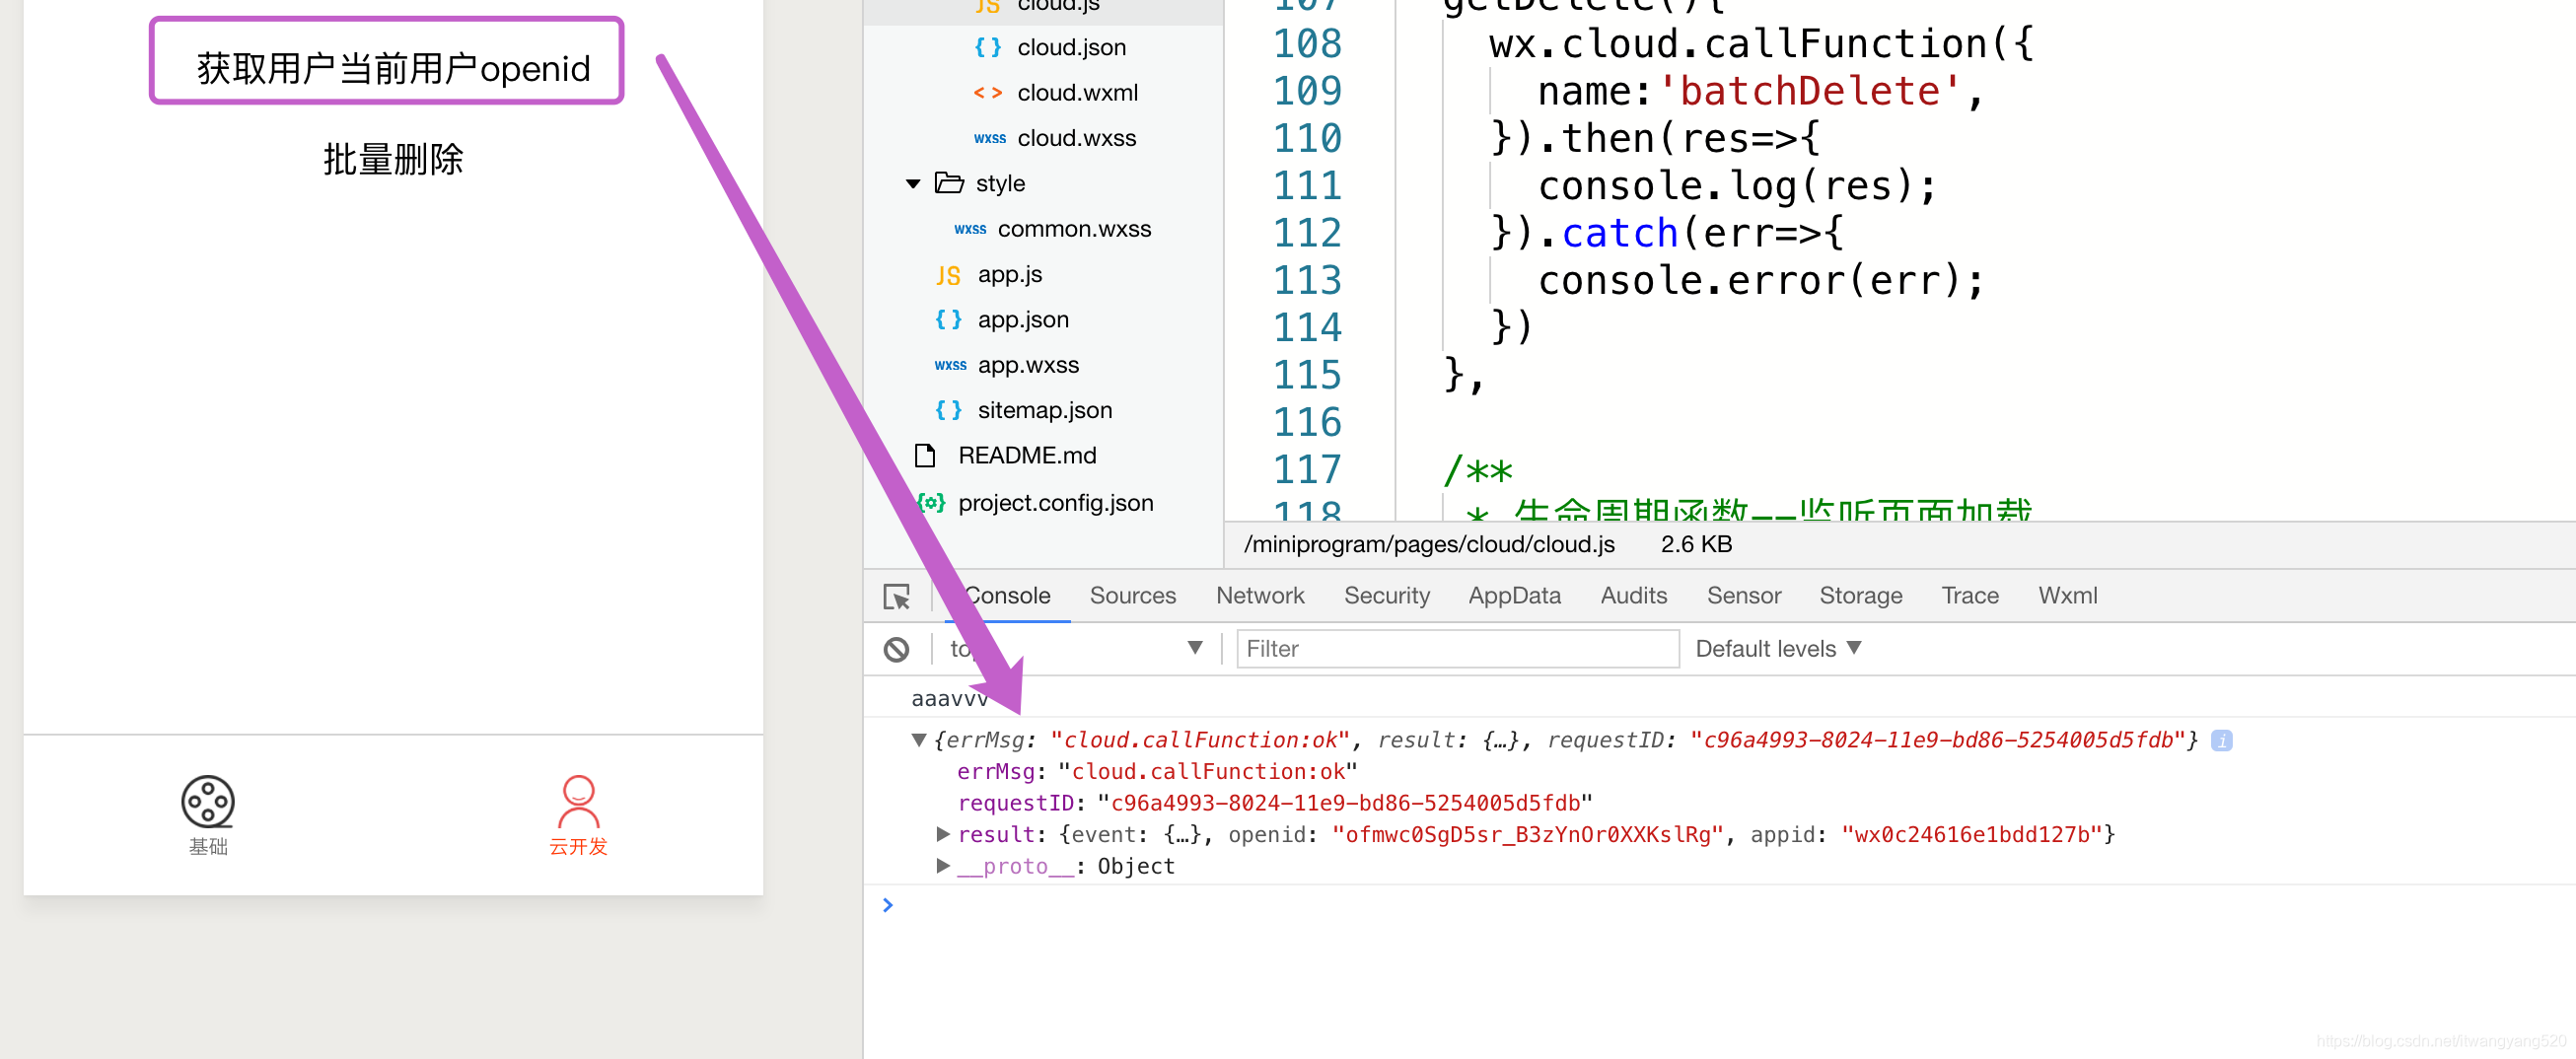
获取用户当前用户openid
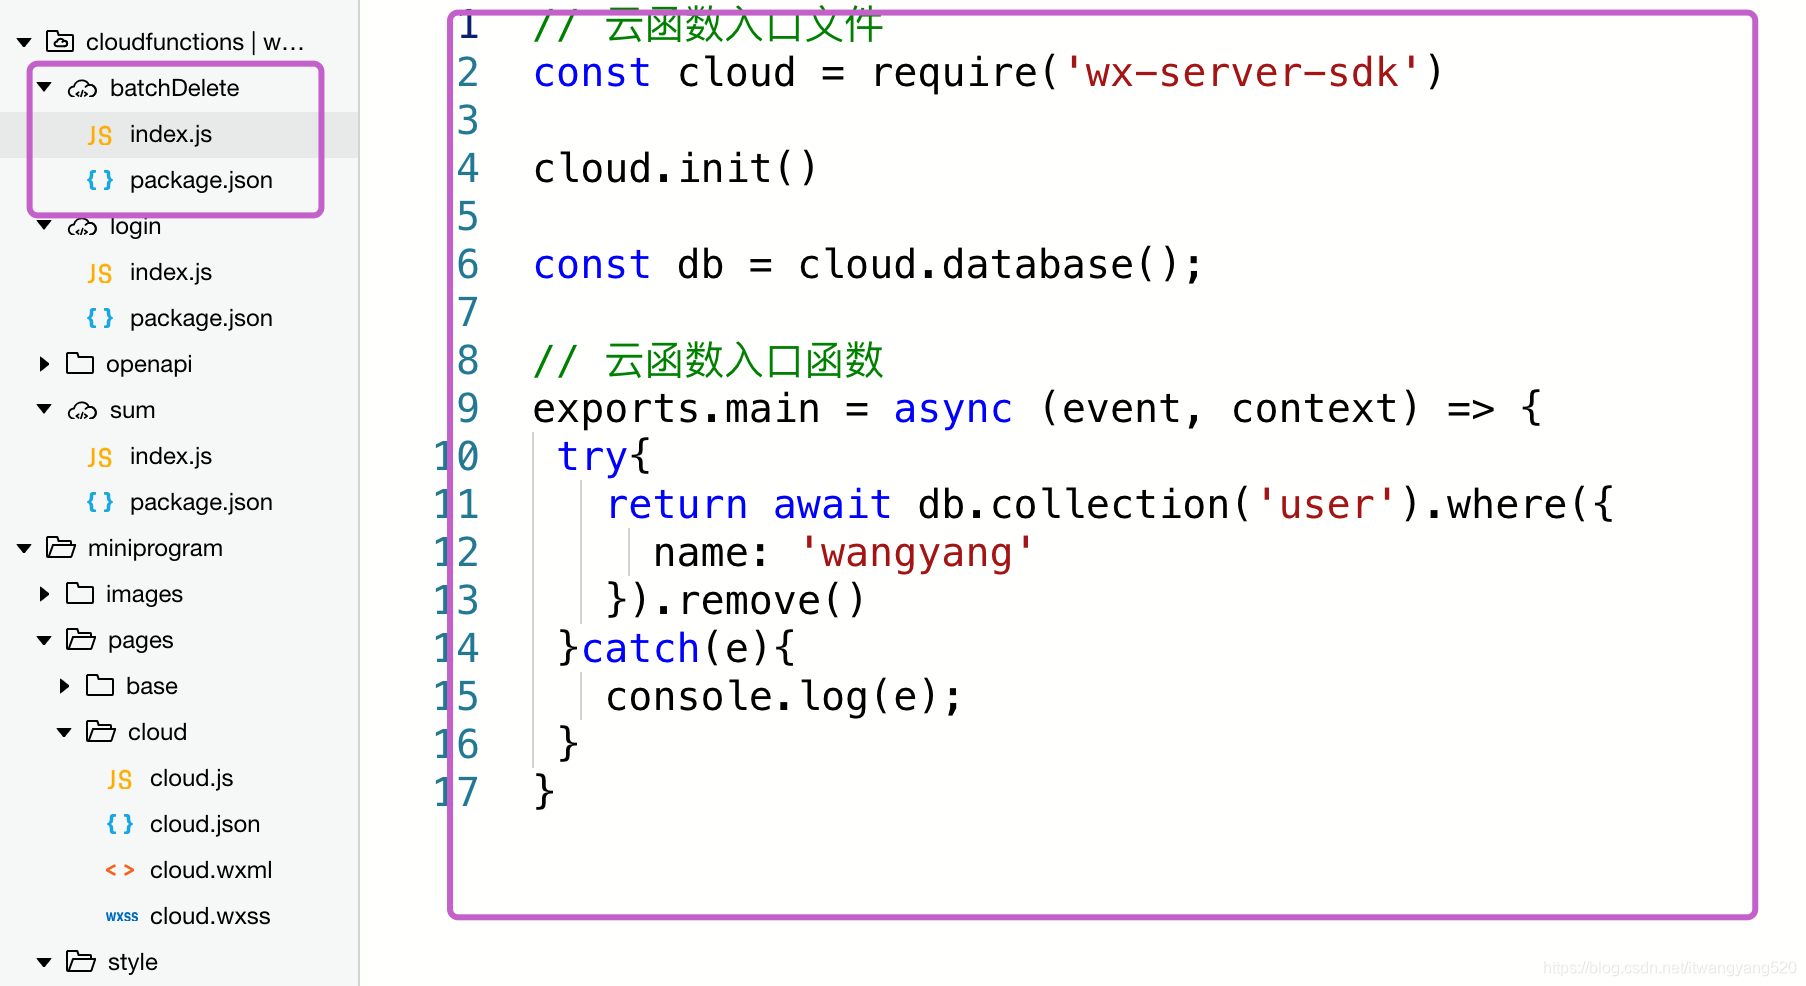
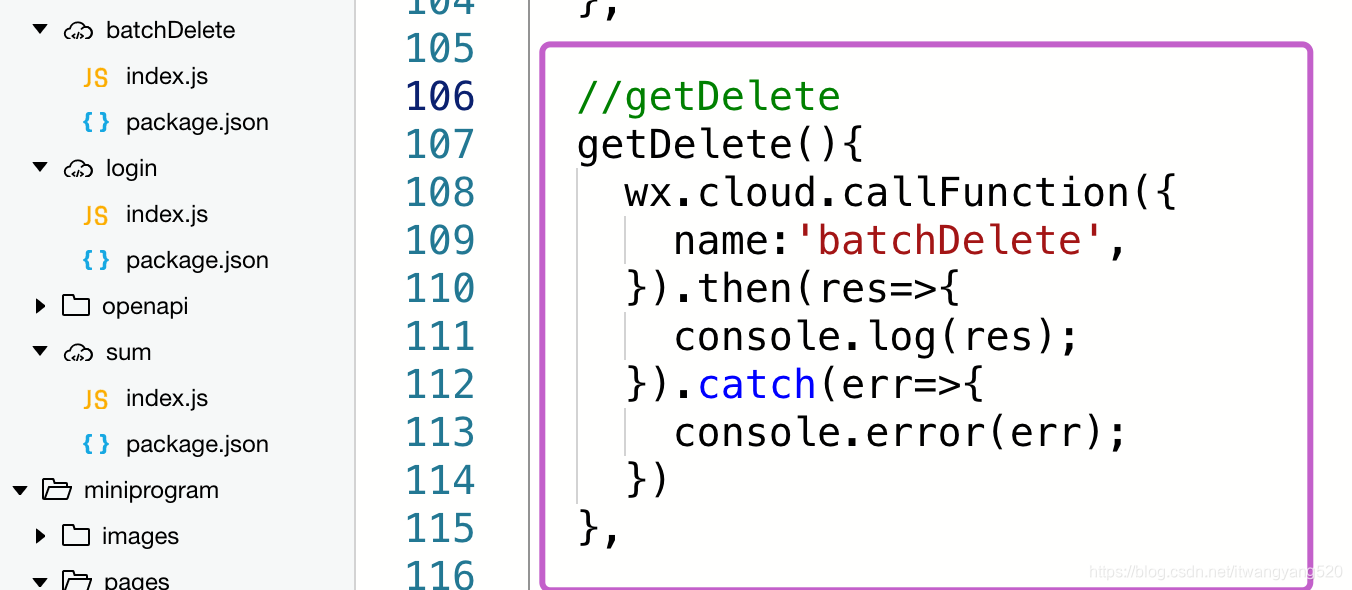
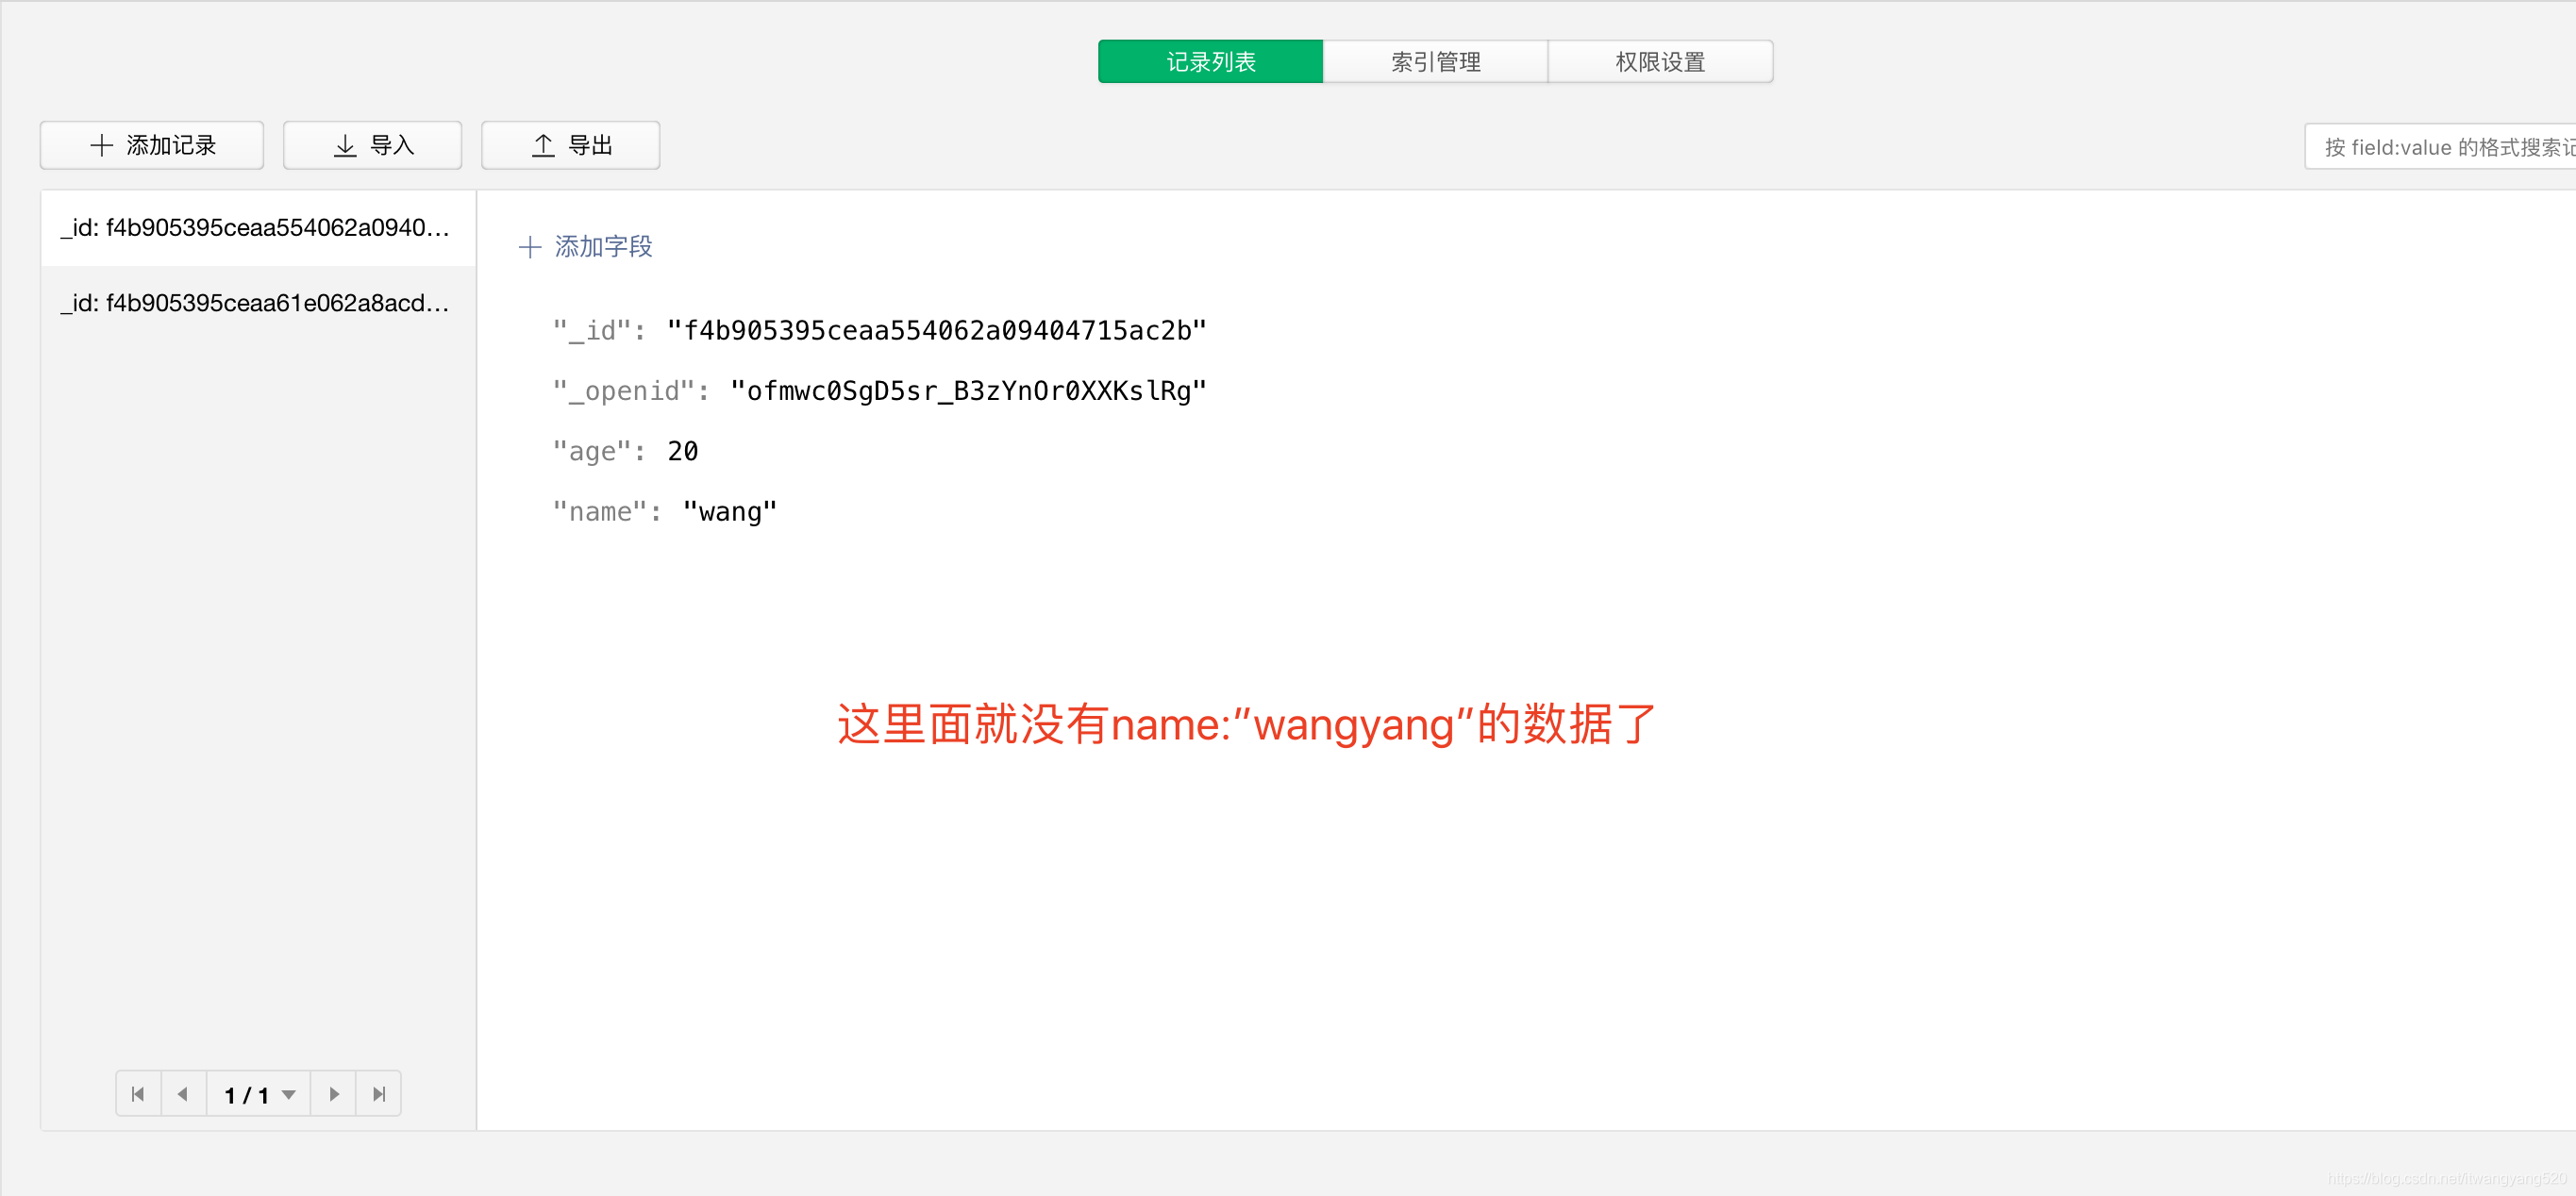
批量删除
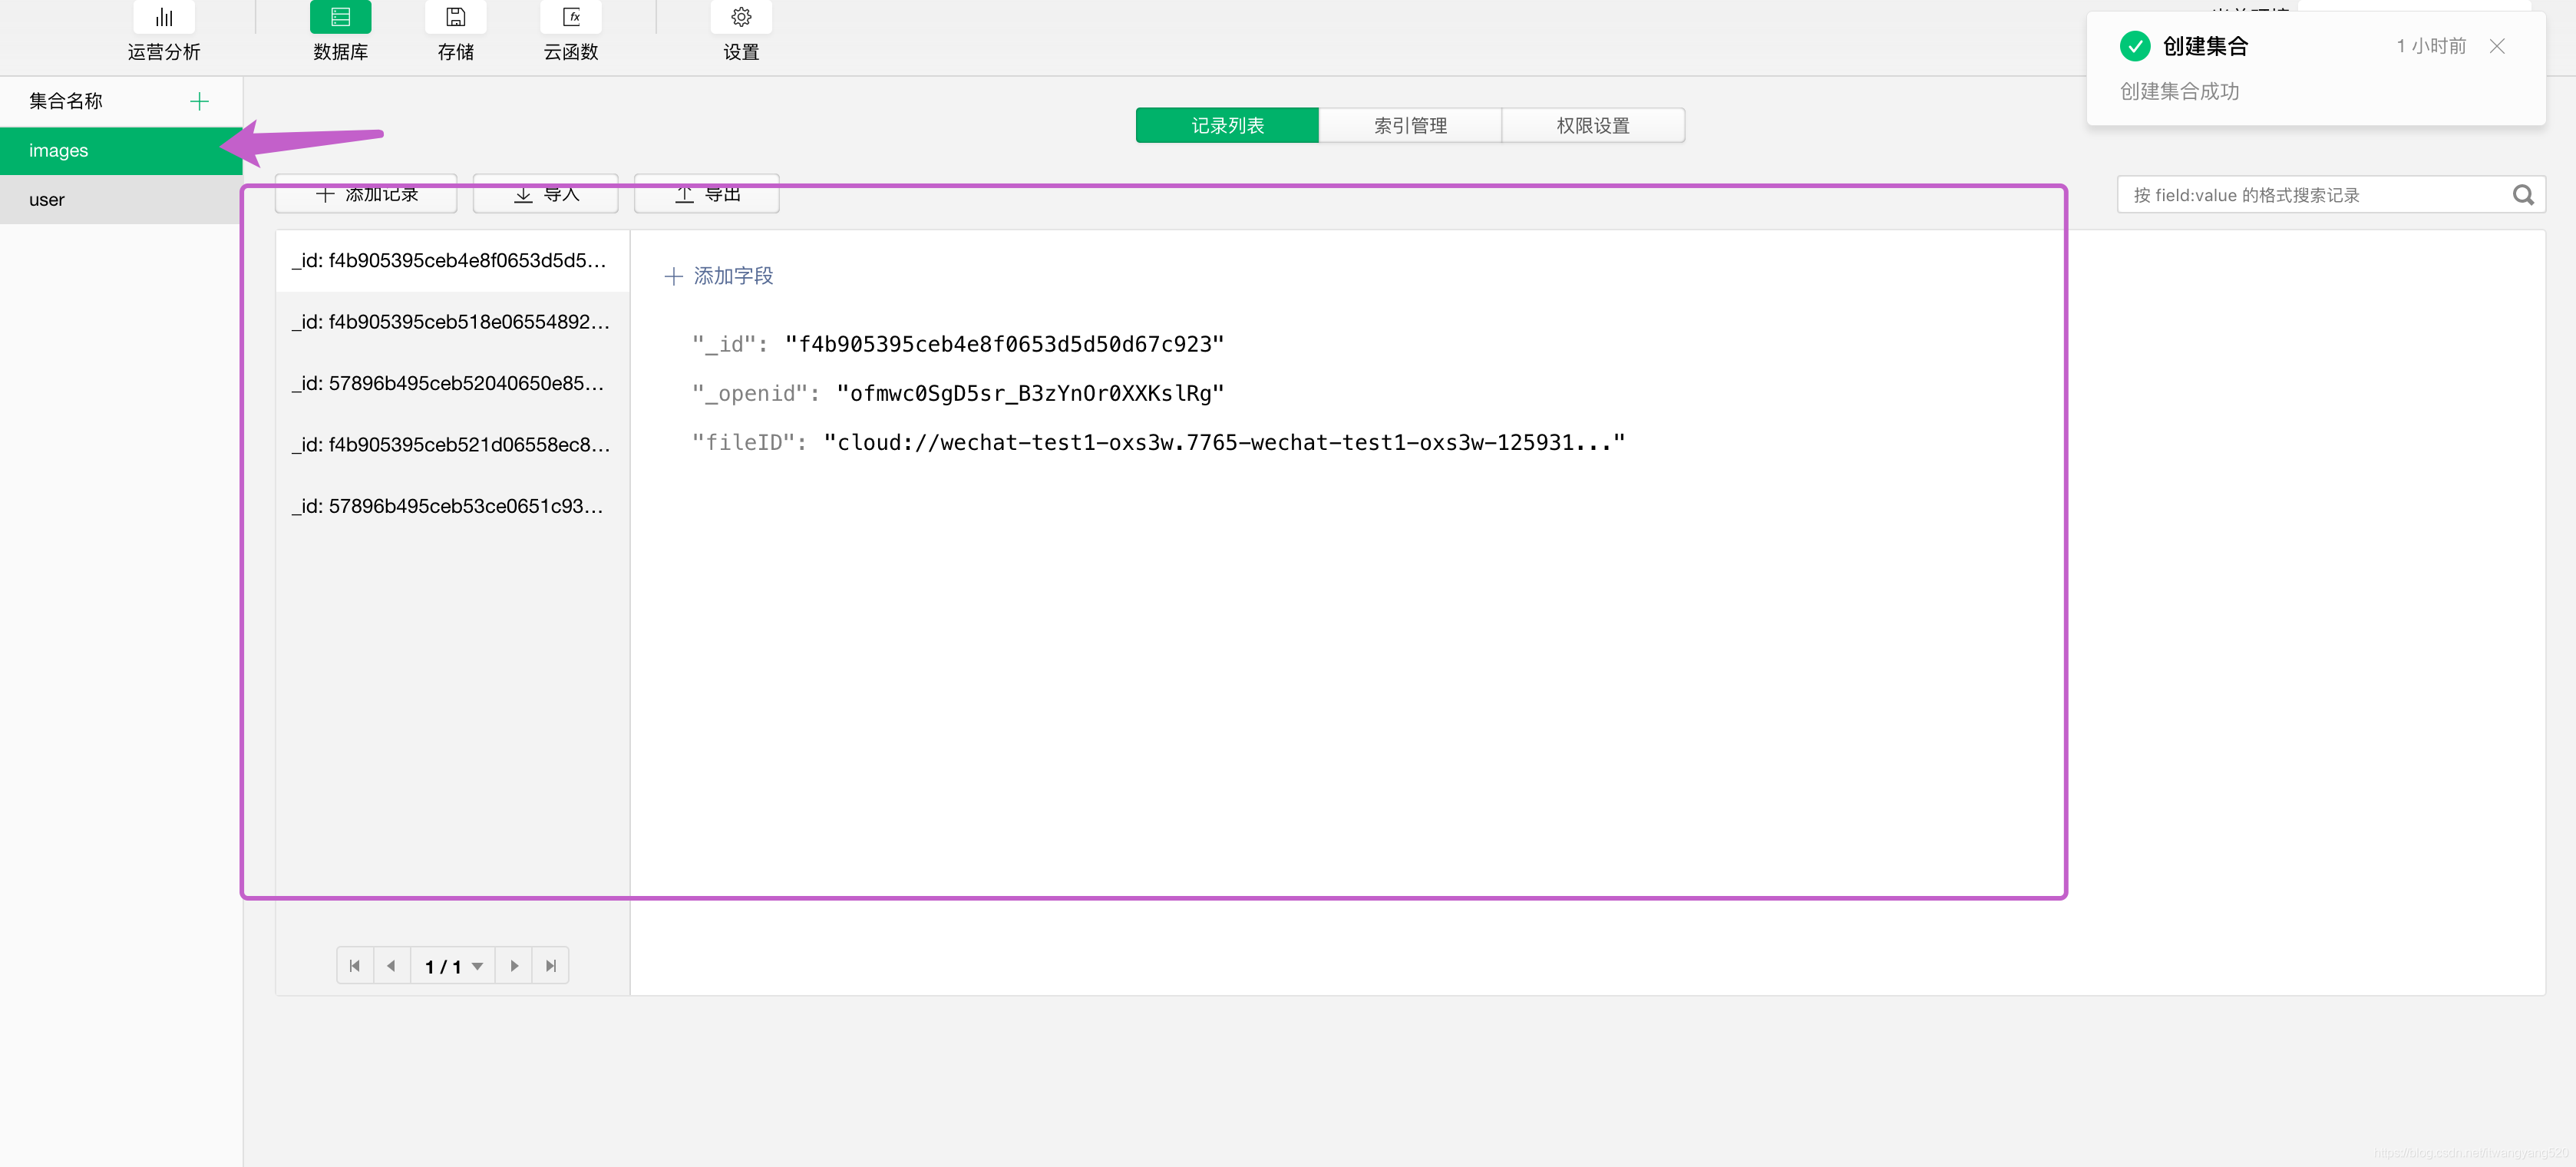
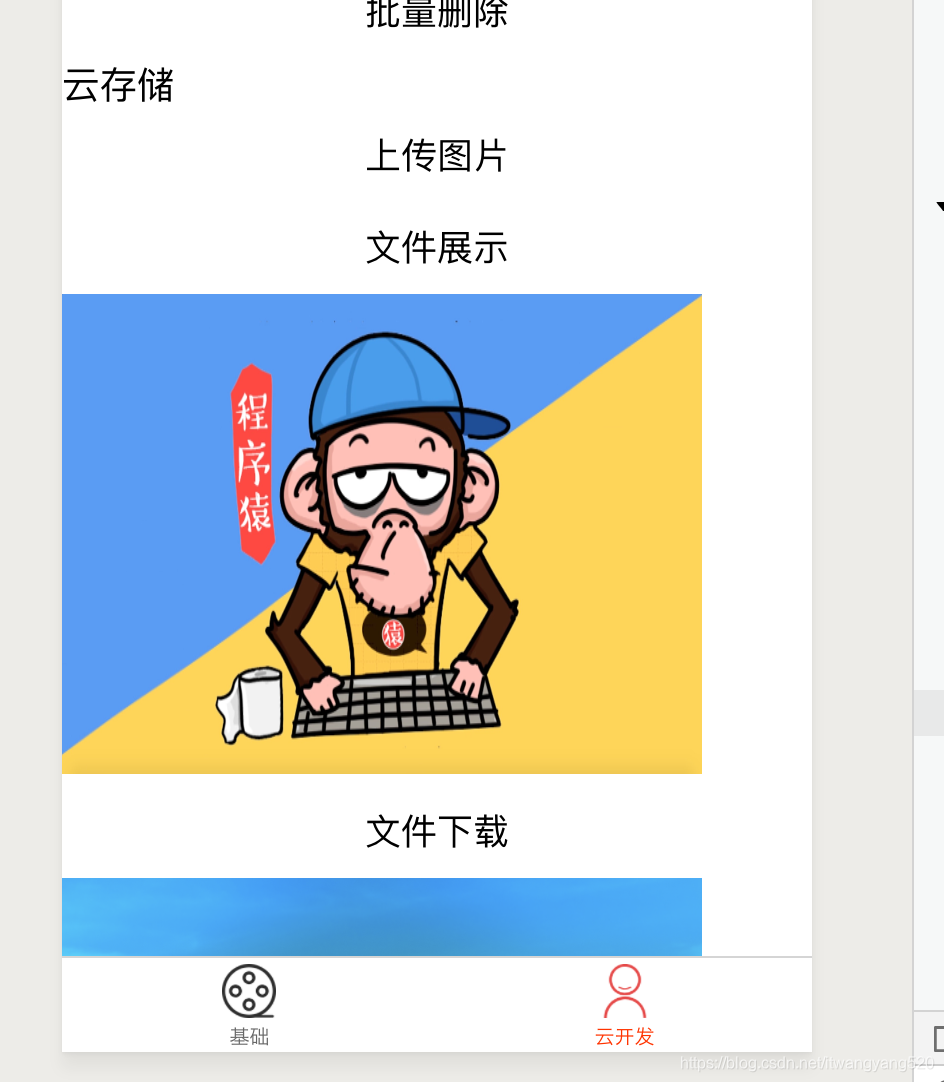
云存储
<view>云存储</view><button bindtap='upload'>上传图片</button><button bindtap='getFileShow'>文件展示</button><block wx:for="{{images}}" wx:key="{{index}}"> <image src='{{item.fileID}}'></image> <button data-fileid="{{item.fileID}}" bindtap='downloadFile'>文件下载</button></block>// pages/cloud/cloud.jsconst db = wx.cloud.database();//初始化数据库Page({ /** * 页面的初始数据 */ data: { images:[] }, //upload upload(){ //选择图片,chooseImage第一步 wx.chooseImage({ count: 1, sizeType: ['original', 'compressed'], sourceType: ['album', 'camera'], success(res) { // tempFilePath可以作为img标签的src属性显示图片 const tempFilePaths = res.tempFilePaths; console.log(tempFilePaths); //第二步uploadFile wx.cloud.uploadFile({ cloudPath: new Date().getTime()+'.png', // 上传至云端的路径 filePath: tempFilePaths[0], // 小程序临时文件路径 success: res => { // 返回文件 ID console.log(res.fileID); db.collection('images').add({ data:{ fileID: res.fileID } }).then(res=>{ console.log(res); }).catch(err=>{ console.log(res); }) }, fail: console.error }) } }) }, //getFileShow getFileShow(){ wx.cloud.callFunction({ name:'login' }).then(res=>{ db.collection('images').where({ _openid: res.result.openid }).get().then(res2=>{ console.log(res2); this.setData({ images:res2.data }) }) }) }, //downloadFile downloadFile(event){ wx.cloud.downloadFile({ fileID: event.target.dataset.fileid, // 文件 ID success: res => { // 返回临时文件路径 console.log(res.tempFilePath); //保存图片 wx.saveImageToPhotosAlbum({ filePath: res.tempFilePath, success(res) { wx.showToast({ title: '保存成功', }) } }) }, fail: console.error }) }, /** * 生命周期函数--监听页面加载 */ onLoad: function (options) { }, /** * 生命周期函数--监听页面初次渲染完成 */ onReady: function () { }, /** * 生命周期函数--监听页面显示 */ onShow: function () { }, /** * 生命周期函数--监听页面隐藏 */ onHide: function () { }, /** * 生命周期函数--监听页面卸载 */ onUnload: function () { }, /** * 页面相关事件处理函数--监听用户下拉动作 */ onPullDownRefresh: function () { }, /** * 页面上拉触底事件的处理函数 */ onReachBottom: function () { }, /** * 用户点击右上角分享 */ onShareAppMessage: function () { }})
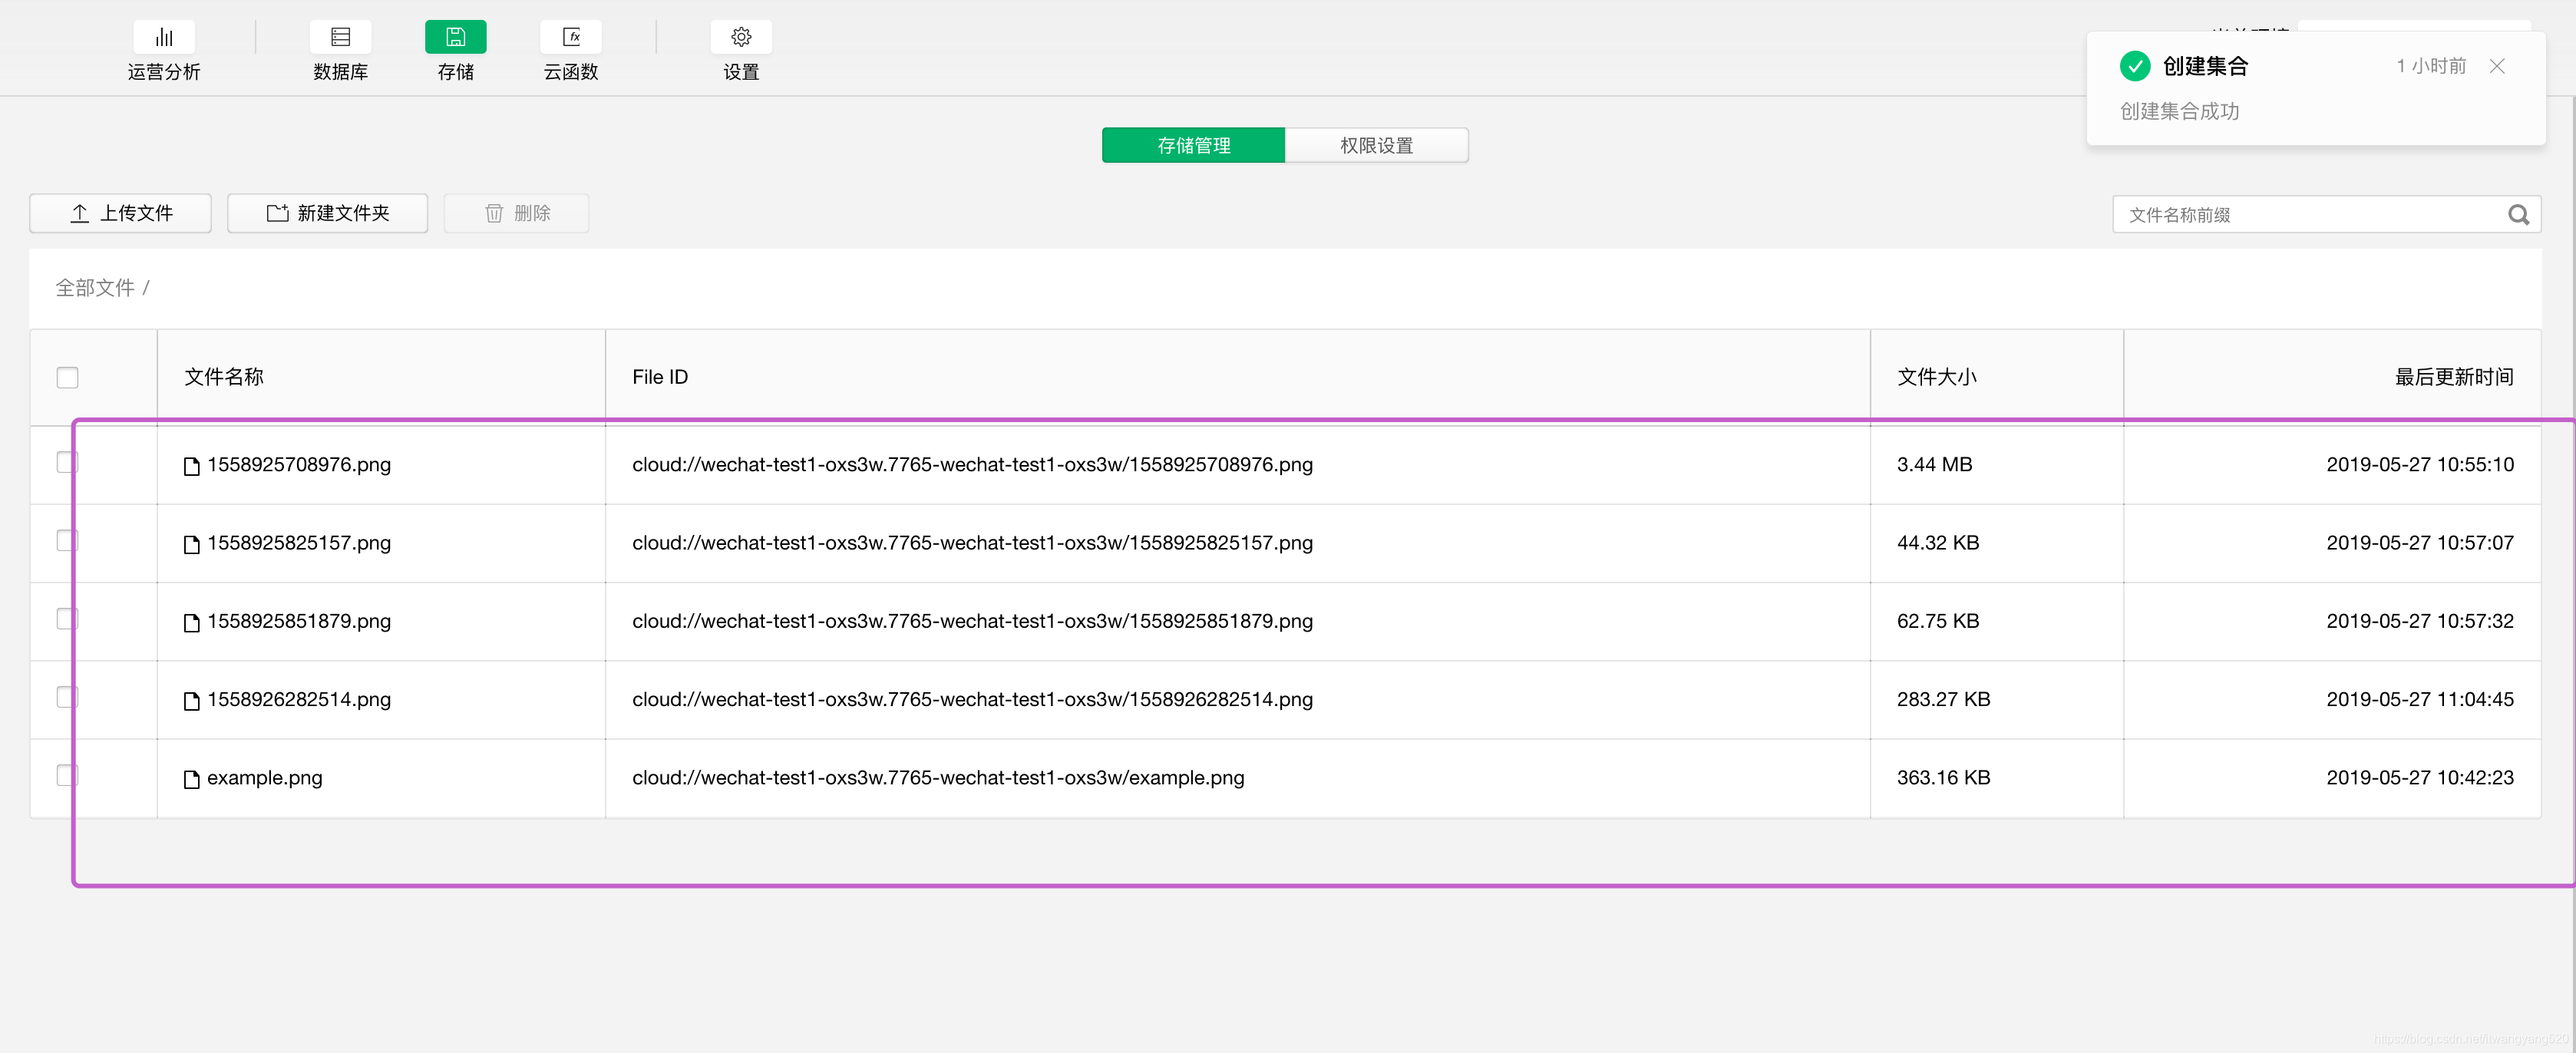
新建一个images的集合,来作为存储图片
源代码在我的github:https://github.com/itWangCode/Wechat-Cloud-Development
云开发就是这样子的,其实也没有太多难度的东西