【授权登录效果图展示】
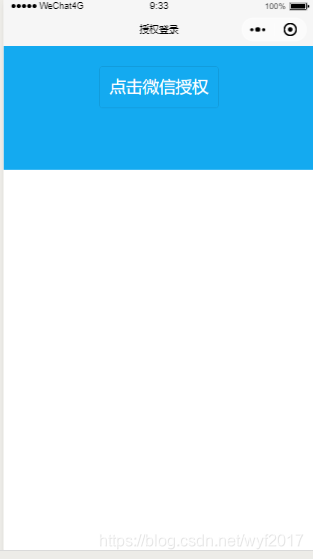 点击授权登录切换到这个界面
【解析】
对于现在大多数小程序都需要一个授权登录的功能模块,为什么呢,因为现在小程序很多功能需要获取到你的头像、昵称等,比如论坛,你发布自己的评论之后应当显示你自己的名称以及头像,这个周末获取呢,当然是通过授权登录来实现呀。当我们点击授权之后我们便可以看到控制台如下信息

【代码展示】
//login.xmlviewbuttonwx:if="{{!hasUserInfo&&canIUse}}"open-type="getUserInfo"bindgetuserinfo="getUserInfo"catchtap='onPostTap'点击微信授权/buttonblockwx:elseimagebindtap="bindViewTap"src="{{userInfo.avatarUrl}}"background-size="cover"/imagetext{{userInfo.nickName}}/text/block/view//login.wxss.userinfo{display:flex;flex-direction:column;align-items:center;background:#14aaf0;width:100%;height:300rpx;}.userinfo-btn{margin-top:50rpx;background:none!important;color:#fff!important;font-size:40rpx;}.userinfo-avatar{width:108rpx;height:108rpx;margin:40rpx;border-radius:50%;}.userinfo-nickname{color:#fff;}//login.json{"navigationBarTitleText":"授权登录"}//login.jsvarapp=getApp()varuserInfo=null;Page({globalData:{appid:'',//appid需自己提供secret:'',//secret需自己提供},data:{userInfo:{},hasUserInfo:false,canIUse:wx.canIUse('button.open-type.getUserInfo')},onLoad:function(){varthat=this;if(this.globalData.userInfo){this.setData({userInfo:app.globalData.userInfo,hasUserInfo:true})}elseif(this.data.canIUse){//由于getUserInfo是网络请求,可能会在Page.onLoad之后才返回//所以此处加入callback以防止这种情况this.userInfoReadyCallback=res={this.setData({userInfo:res.userInfo,hasUserInfo:true})}}else{//在没有open-type=getUserInfo版本的兼容处理wx.getUserInfo({success:res={this.globalData.userInfo=res.userInfothis.setData({userInfo:res.userInfo,hasUserInfo:true})}})}//登录凭证校验。通过wx.login()接口获得临时登录凭证code后传到开发者服务器调用此接口完成登录流程。wx.login({success:function(res){if(res.code){console.log("res.code:"+res.code);vard=that.globalData;//这里存储了appid、secret、token串varl='https://api.weixin.qq.com/sns/jscode2session?appid='+d.appid+'&secret='+d.secret+'&js_code='+res.code+'&grant_type=authorization_code';wx.request({url:l,data:{},method:'GET',success:function(res){varobj={};obj.openid=res.data.openid;console.log("openid:"+obj.openid);console.log("session_key:"+res.data.session_key);obj.expires_in=Date.now()+res.data.expires_in;wx.setStorageSync('user',obj);//存储openid}});}else{console.log('获取用户登录态失败!'+res.errMsg)}}});},getUserInfo:function(e){console.log(e)this.globalData.userInfo=e.detail.userInfothis.setData({userInfo:e.detail.userInfo,hasUserInfo:true})},onPostTap:function(event){//授权登录之后实现页面之间的跳转wx.navigateTo({url:"../welcome/welcome"})}})【总结】
以上就是授权登录模块的基本代码,代码里面都有相应的注释,我觉得大家都可以看懂的,有什么不懂之处可以在下面留言。